Lucid advice

Tips for building a floor plan in Lucidchart 🚧

  • 3 January 2024
  • 9 replies
  • 875 views

Sometimes building a floor plan can be a frustrating experience, especially starting from scratch. To avoid frustration and make it as seamless an experience as possible, here are some tips!

  1. If you have an existing floorplan that you are trying to recreate, use layers in Lucidchart to trace on top of it by following the instructions in this community post.
  2. Optimize your Document Settings by disabling all snapping options.
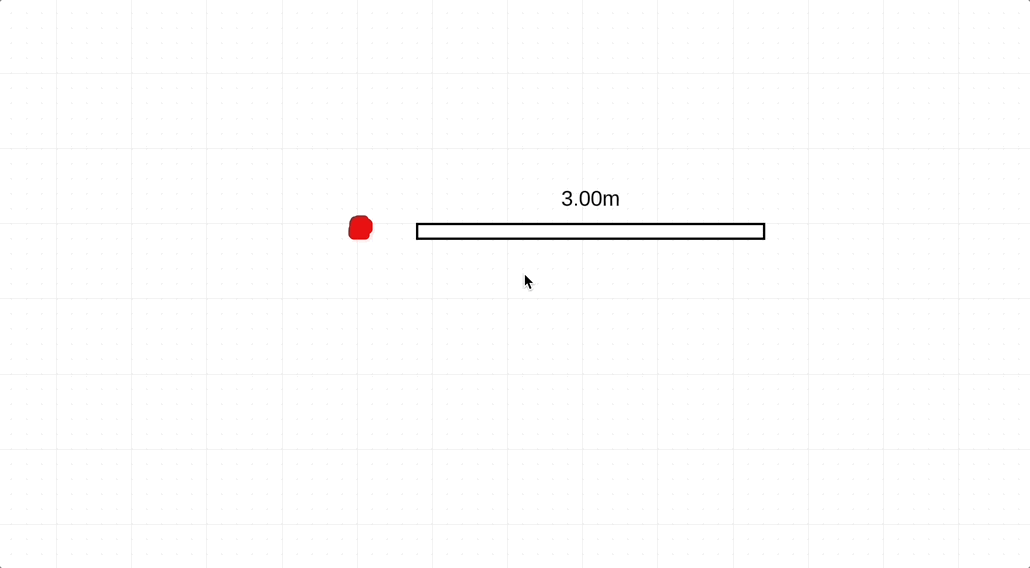
  3. Customize or hide wall measurements by right-clicking any wall, hovering over “Wall Options”, and selecting Total Length, Split Length, or Hide Length.
  4. You can drag wall measurements to appear anywhere on the wall, including on the interior or exterior side of the wall. 
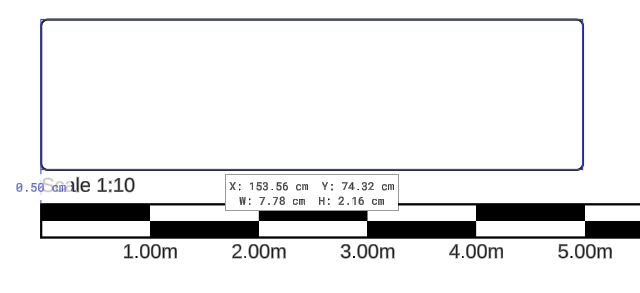
    • Wall measurements are specific to the side of the wall where they appear. The interior wall will show a different measurement than the exterior wall.
      5Fddrcw8lUTI6y34ik8EwJkgLiHhxQwvZQVHXKIK5BFSCHVKy4GyqRRXCI2ju2AgjX8tliCHdZj1OhwN--7sthKAiolLx6h1is0pFUUuhI2v8ZdxJc7UMEgfe4F2GkenXDIyRcI9q8HsLmWbxdF1grY
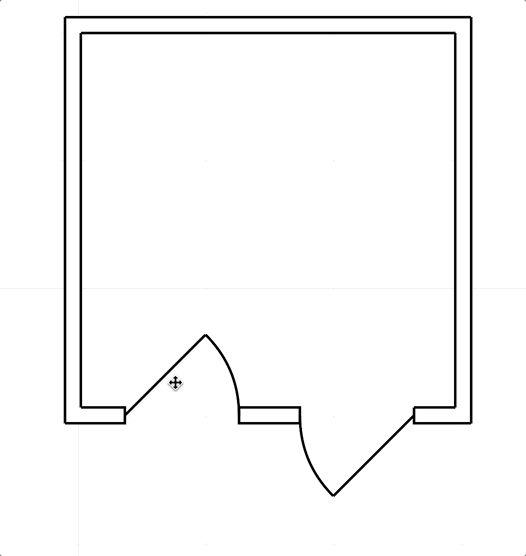
  5. Doors can be moved to either side of a wall by dragging the box that appears in the center of the door shape. When selecting a door from the shape library, be sure to select the one that has the door opening on the correct side. After adding the door to the wall, you can move it to the other side of the wall if needed.
    6XWFsQfuYD7WQaU3t873pkhqIoPYUyNCKe9868nYwKdia7tEuRuwKN4OIB63CbaAIiuLRb9eSV4H8bFfmOPT3l5jqjREftQxdN4PEyOwia7dzPFe_zT3JeMORyXn_XOU6YQCF5ttSirIEE5BwJ_Jc7A
  6. Lucidchart has a limited number of floor plan-specific shapes. If you are unable to find a shape that you would like to use, you can add a custom shape. Check out this article to learn how to create and save custom shapes.
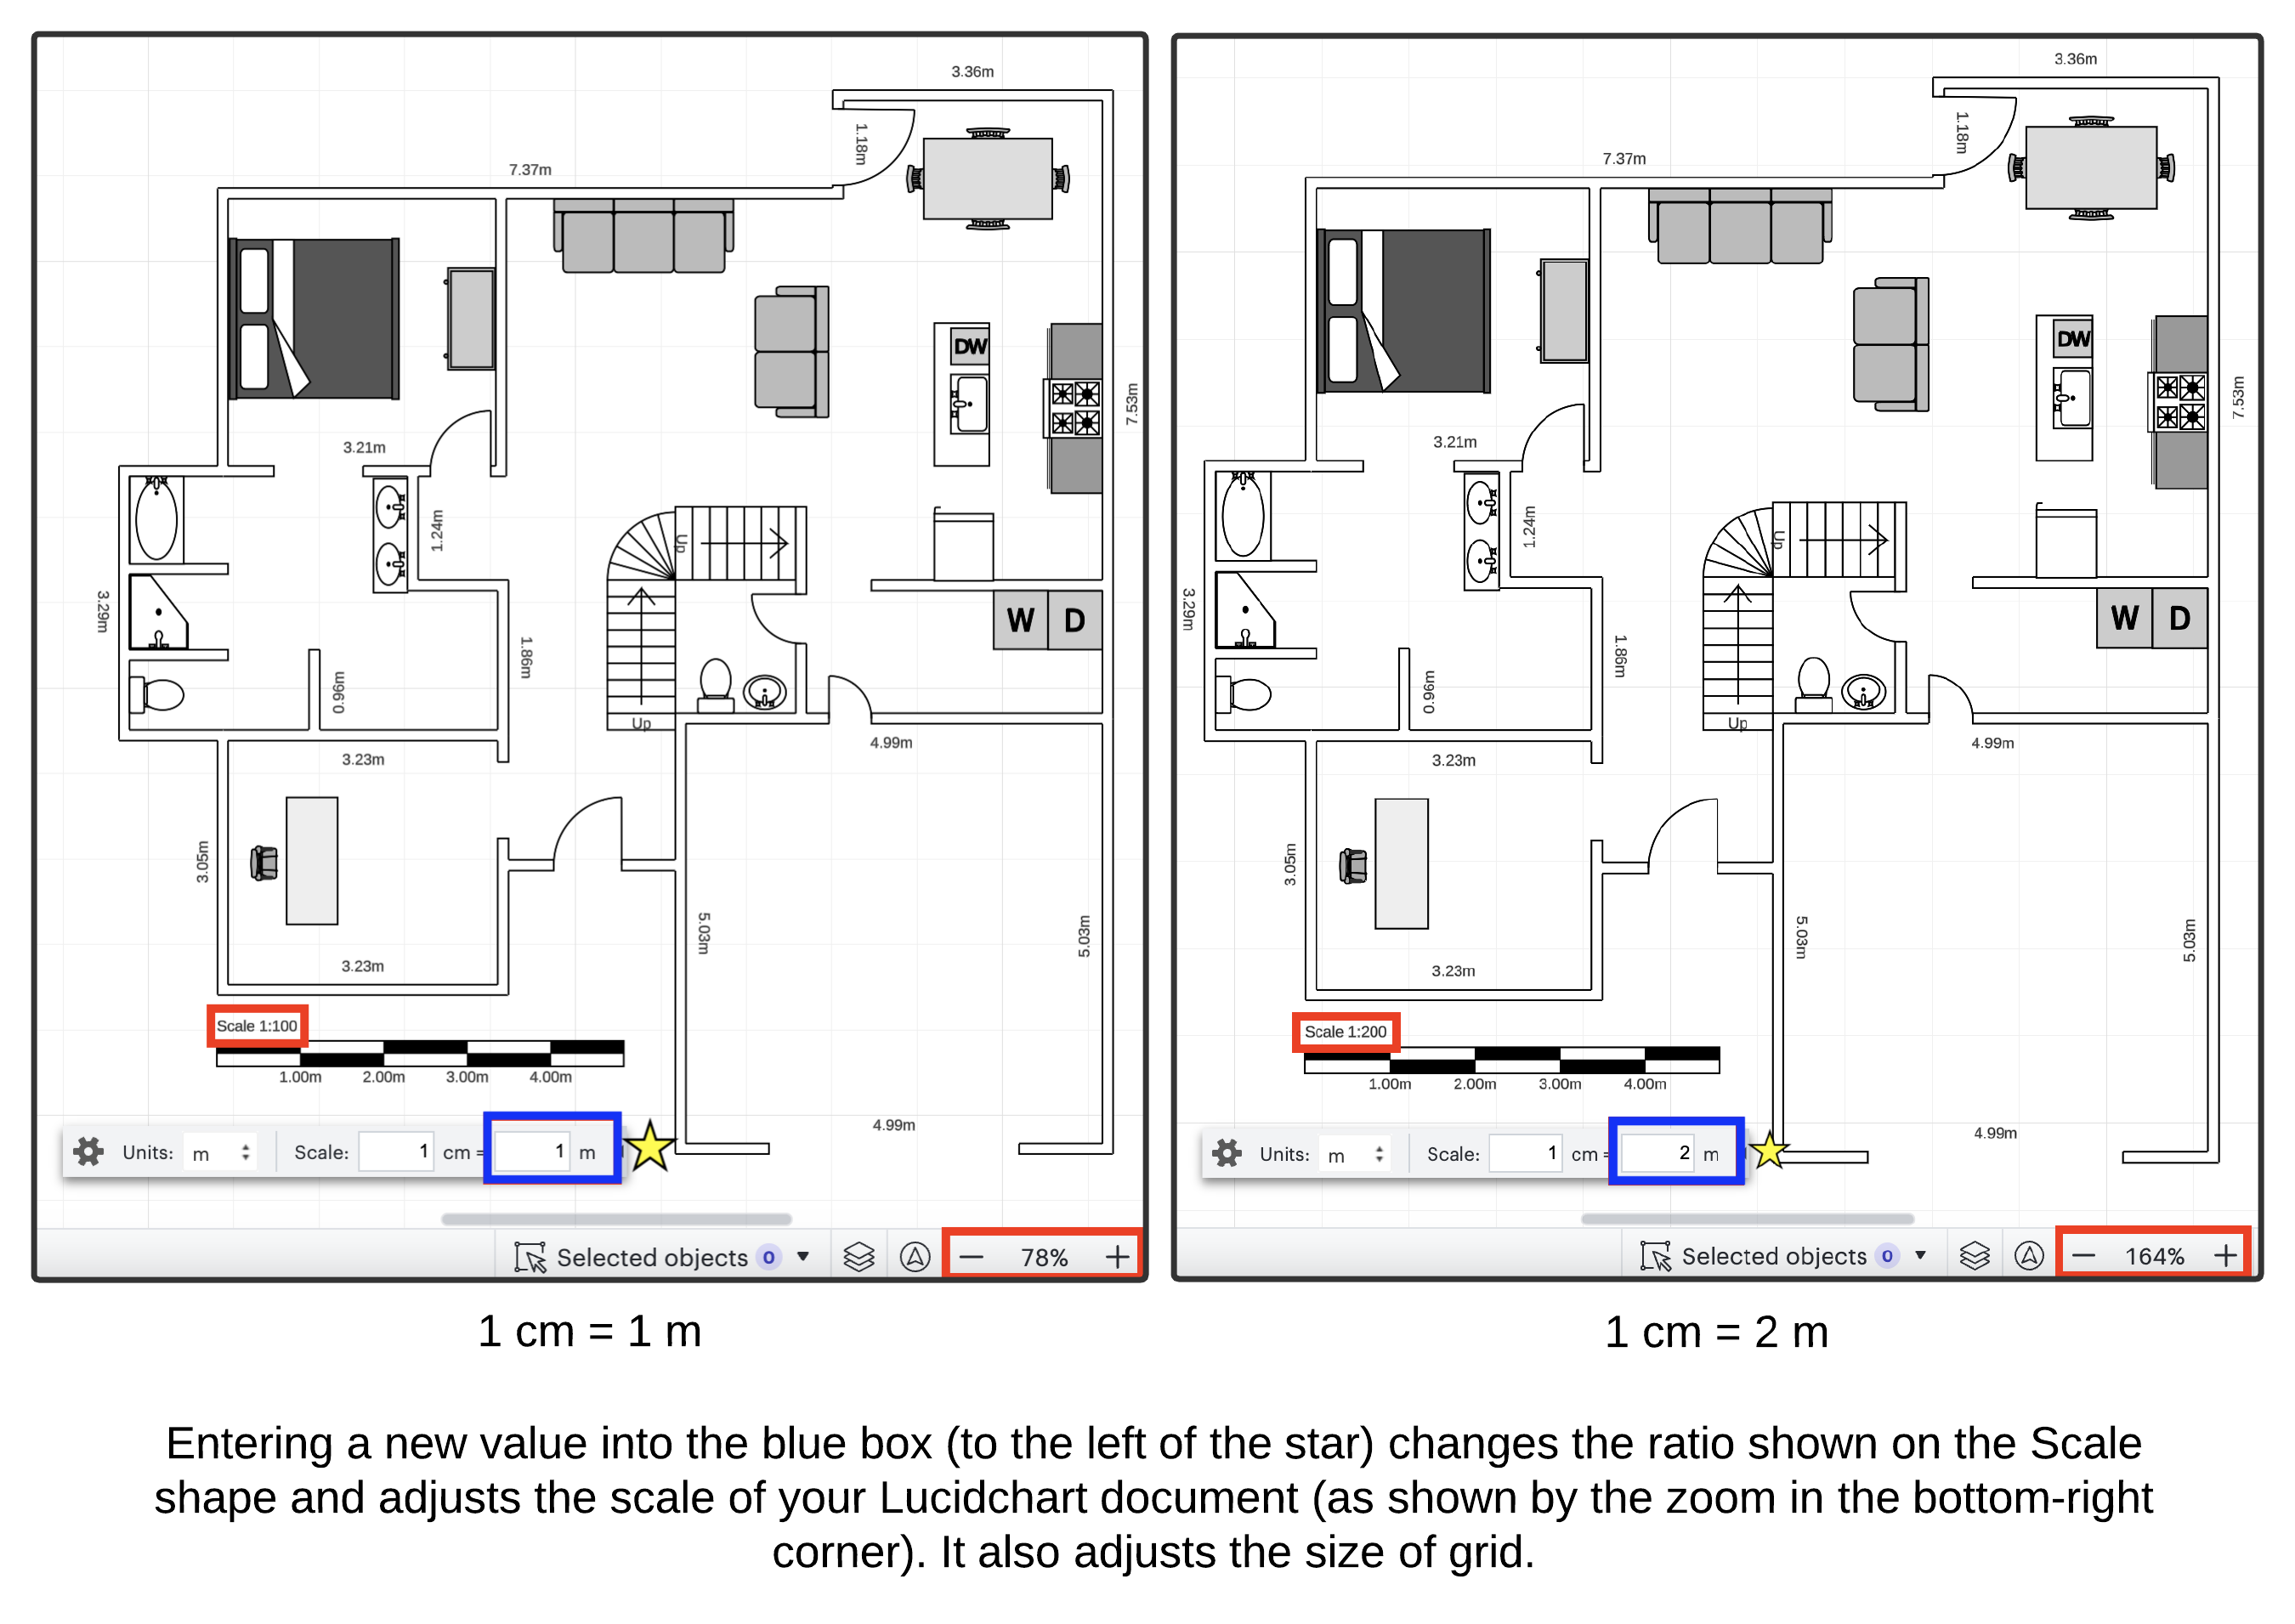
  7. To adjust the scale of your floor plan, click the gear icon that appears in the bottom-left corner of the canvas when you open a floor plan template or shape library. This tool will not appear on an exported version of the document. To see the scale in an exported version of the floor plan, add the scale shape from the “Measurement” shape library.


  8. It is not possible to: 
    • change wall thickness.
    • manually type in specific measurement values for objects.
    • type in manual/custom wall measurements (you can, however, hide the measurement, and add a textbox with a measurement in black, Liberation Sans font to mimic the same thing).
    • If any of these features would be useful to you, please add the idea to our Product Feedback section of the Lucid Community.


Have you come across any other helpful tips for creating floor plans? Please share them in the comments!

Comments

Badge

Not having the ability to set dimensions and automatically label those dimensions to shapes is a huge limitation that makes this useless for planning.  We’ll have to use another tool instead for this. 

Userlevel 5
Badge +11

Hi @gwo,

Thanks for the response! Even though this isn’t currently supported in Lucid,  we’re very interested in your feedback and committed to continually improving our products. Please first search the Product Feedback section of this community (with the filter Topic Type = Idea) to see if it’s already been submitted. If so, please add any additional details you’d like and upvote the request - this consolidation helps to refine feedback and properly capture the popularity of the request.

If no one has submitted this idea yet, please create one of your own and be sure to include details about your use case or what you’d like to see in this experience. This will also allow other users with similar requests to discover and upvote it, then add details of their own.

Finally, for more information on how Lucid manages feedback via this community, take a look at this post:


Userlevel 7
Badge +11

these are very helpful. Thank you for sharing @Morgan T 

Badge

I have the units set to m, the scale set to 10 cm = 1 m, and yet 5 m on a room shape = 7.62 cm (3 inches) on a standard shape.

Userlevel 6
Badge +15

Hi @50h9j ! Thanks for reaching out - can you tell me where you are seeing the 7.62 cm measurement?

Badge

Hi @Morgan T if you drag the shape to resize it, the dimensions temporarily display. 7.62 cm = 3 inches.

Userlevel 6
Badge +15

@50h9j I believe the measurement you are talking about is actually indicating the shape’s location on the document relative to the center. Check out the GIF below, and you can see that the values change depending on where the wall is on the document (the red dot is the center of the document). Please let me know if this is not what you are referencing.


Badge

@Morgan T you’re moving a wall shape while I was talking about resizing a standard shape. The shapes that are part of the room design suite appear to have a different scale to standard shapes. You could say, don’t use standard shapes in room designs, but that’s not much help if you need to draw custom items.


Userlevel 6
Badge +15

@50h9j I apologize for misunderstanding - I see what you are saying, and I can reproduce the same behavior. Unfortunately this is a bug in Lucidchart, and I have reported this to our development team.

The issue appears to be with the floorplan scaling tool in the bottom-left of the canvas. As a workaround, if you open a brand new Lucidchart document, and copy your floorplan into it, standard shapes’ dimensions should be correct relative to the floorplan shapes. Unfortunately if you adjust the scale at all in the bottom-left corner, the dimensions will be off afterward. I recognize that this isn’t overly helpful since Lucidchart’s default 25 cm = 16 m scale is likely not what you need for your project.

I am very sorry for the inconvenience. Again, I have reported this to our development team to take a look at. Please let me know if you have any additional questions or concerns.

Reply