Lucid advice

Manage your project using a Gantt Chart in Lucidspark


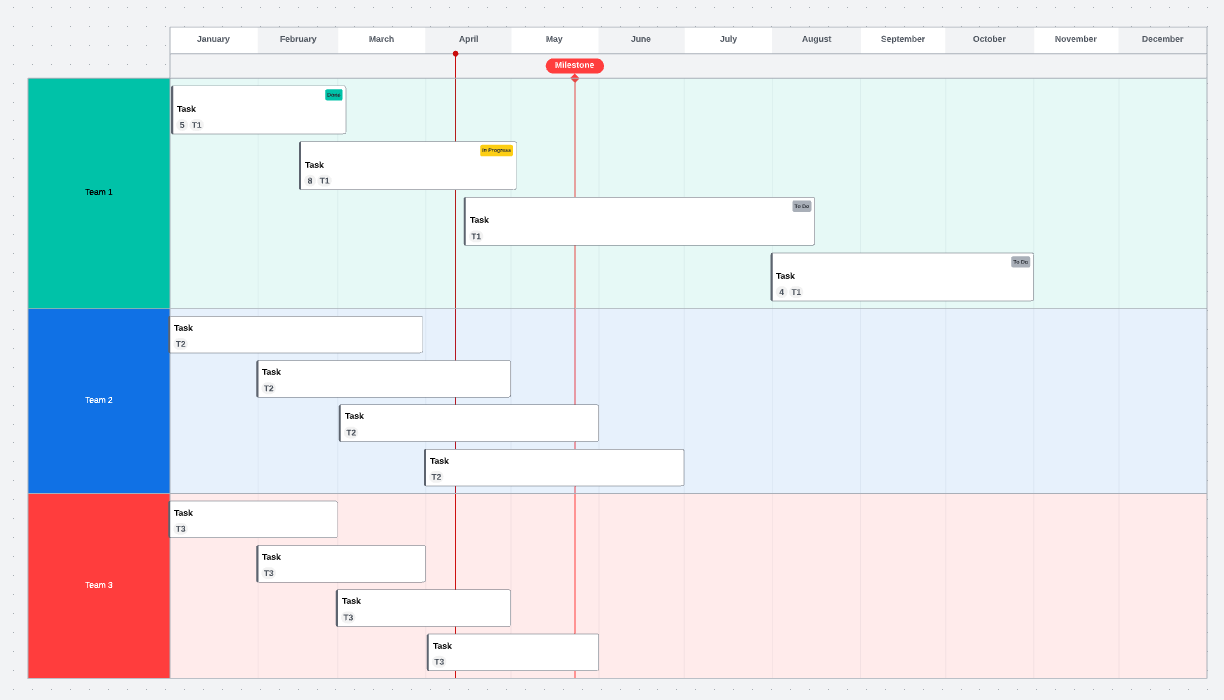
Gantt charts allow you to visualize all tasks for an upcoming project in one location even when the project spans across multiple teams. Gantt charts work similarly to our timeline functionality - namely it lays out individual tasks and their dependencies task ownership task duration and the expected duration of the project as a whole. With each task clearly mapped out and assigned the project manager and their entire team can easily stay on top of deadlines and make sure everyone is accountable for their work.

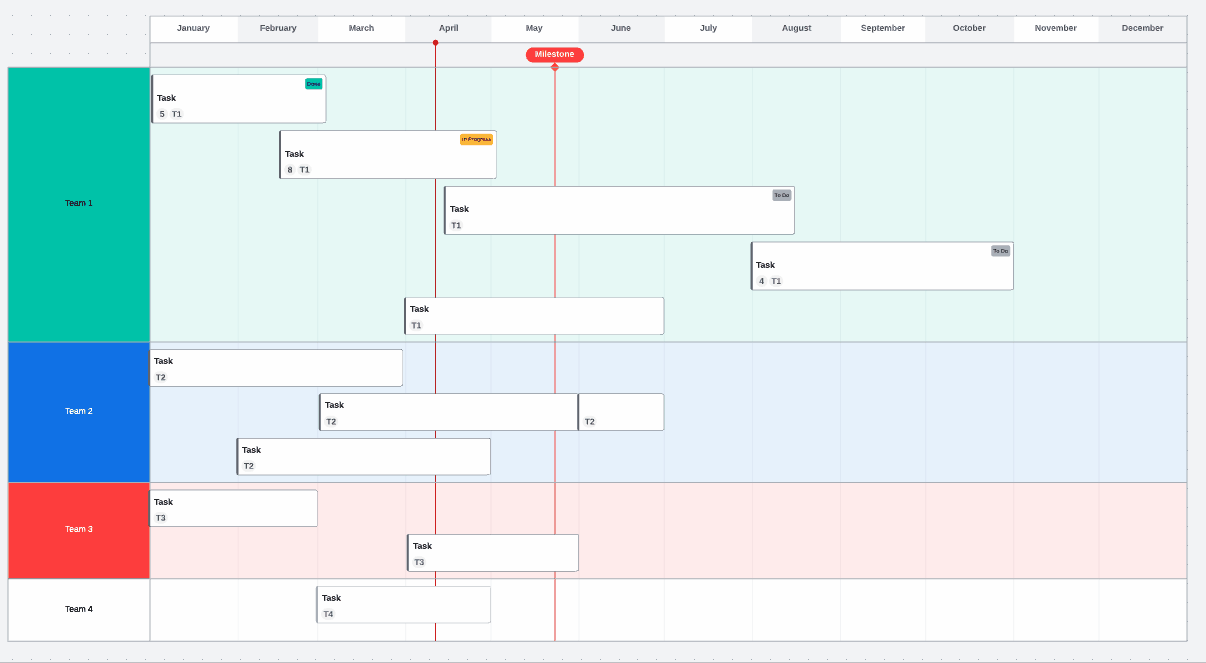
For this example I will be using the Lucidspark Gantt chart template. Click to access the Gantt Chart template. From this template I am beginning with a project that includes three teams. Each team is currently assigned four tasks that will be completed over the course of a year.

l7CWR9LI5LrzQleSA2el-Q.png

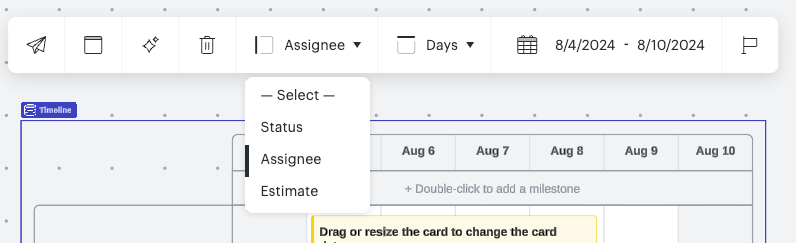
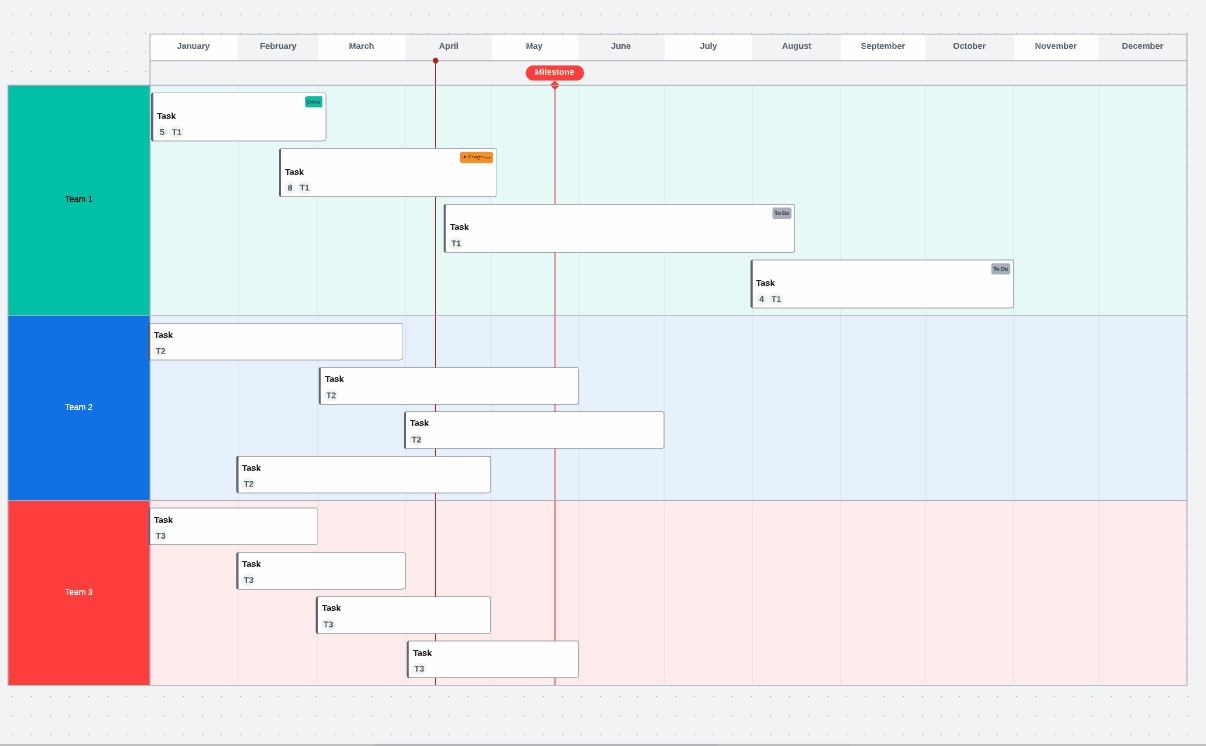
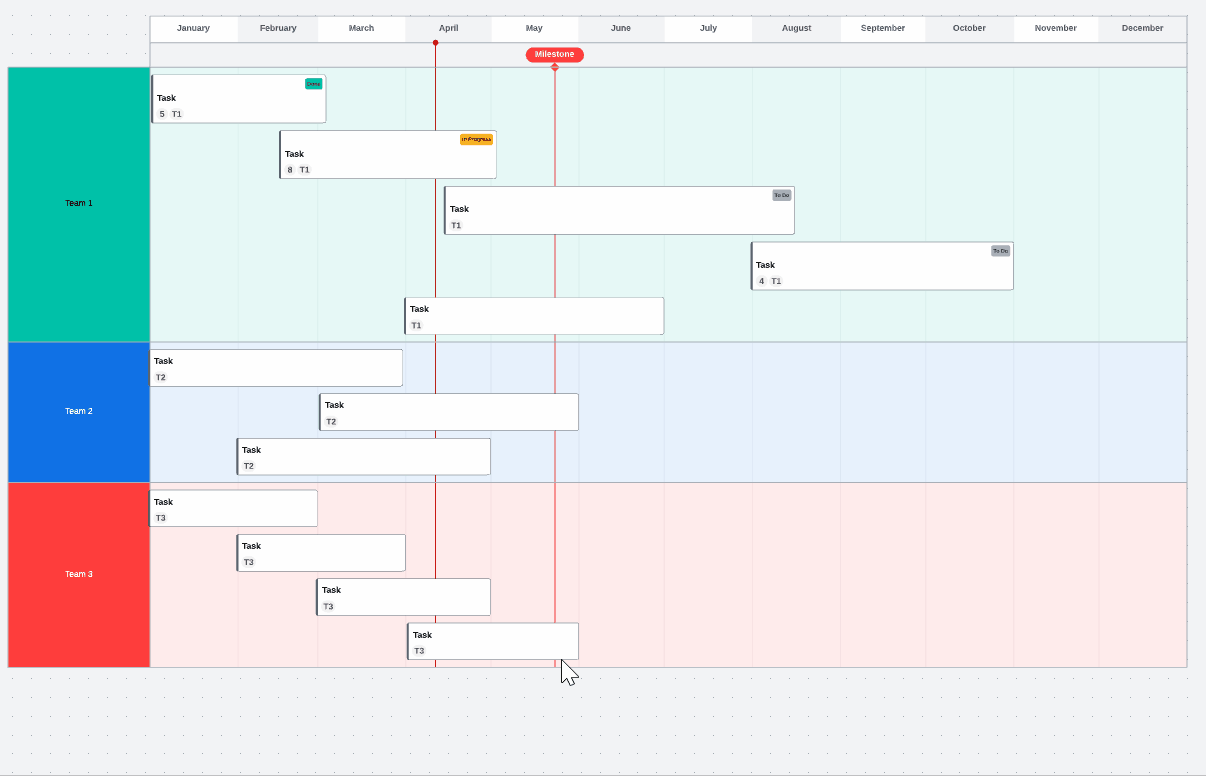
If I want to reassign a task from Team 2 to Team 1 I click on the task and select the pencil icon to edit details. From here I can change the assignee to Team 1. 

MKqQxaRfU5m51uMjrH7cCA.gif

Instead of reassigning to an existing team I can also add a new team to the Gantt chart by assigning a task to them. To do so I click on the task and select the pencil icon to edit details. In this example I will assign it to a Team 4 which will then be added to my Gantt chart.

ECr17i0MILsCkXBxyEfCEQ.gif

The new row for the added team will need to be styled to match the color style of my existing Gantt chart. If I want to make my new row for Team 4 purple I will double click on the Team 4 column. From there I will select the round color icon. I will check the box next to “Fill color” at the top so that the entire row will be filled with purple (lighter purple in the columns following the Team name). Then I will click on the purple icon and my entire row will be filled with the color I selected.

PlpkHji2duF0NFuhOud7Fg.gif

To remove an assignee you can delete the name of the assignee within the edit detail tab. This will move the task to an "unassigned" box. You can also move tasks around the graph to switch assignees. To learn more about creating and editing tasks refer to our Lucidspark Cards article.

To remove a row double click the title row and click “Delete” or “Backspace” on the keyboard. 

 Follow up in the comments section below with any questions or to show an example of how you use Gantt charts to manage your project timelines!

I am working on a timeline but cannot increase the letter size of the Team Names row, how can you do that? 


How do I create additional milestones?


Hey @Stak and @Luciano F  -- thanks for posting on this thread! @Stak, if you double click on the milestone row at the top of the timeline, this will add additional milestones. 

@Luciano F unfortunately, you cannot edit the text size of the row names. If this is a feature that is important for your work, I would recommend reaching out in our Product Feedback channel. This gets your idea in front of our Dev Team for their consideration. 

Hope this helps!


Thanks @Phillip W - works perfectly, I appreciate that quick reply!


Hey @Stak -- no problem at all!


Hey @Phillip W, is it possible to edit the timeline text? The Quarterly view is presented by listing the months on each quarter and I would like it to be more like Q1-2024, any ideas on how to do this? Thanks!


Hey @Luciano F -- unfortunately, this isn’t possible using our Timeline tool, however, I do love the idea of custom Timelines! I would be sure to submit this feedback to our Dev Team for them to look further into 😎

In the meantime, you could utilize Frames to organize your board as well as provide headers for Timelines. 

Hope this helps!


Hi there! I would like to use this as a template and thusly, hoping to take out specific dates. Is it possible to have the timeline as “week 1, 2, 3” vs. the calendar?


Thanks!


Hi there! I would like to use this as a template and thusly, hoping to take out specific dates. Is it possible to have the timeline as “week 1, 2, 3” vs. the calendar?


Thanks!

woops! seeing the other question about this above. I will stay tuned in case this update is added. 🤓


How to put swinlanes within each assignee. For example I want to segregate different items within each assignee like design dev test etc.

Can you please help?


Also can I create a dependency of one task on another so that if the timeline for sub task moves then the timeline for the dependent task also moves automatically


Hi @vijitshri, thank you for continuing this thread! Just to confirm, are you trying to split your and have each assignee in each row? (See example below). 


You can adjust what details to display on the X and Y axis of your timeline. In this example, I have ‘Assignee’. 
 

If this is not what you are looking for, can you please share a detailed description and screenshot to help me take a closer look? Thank you!


Reply