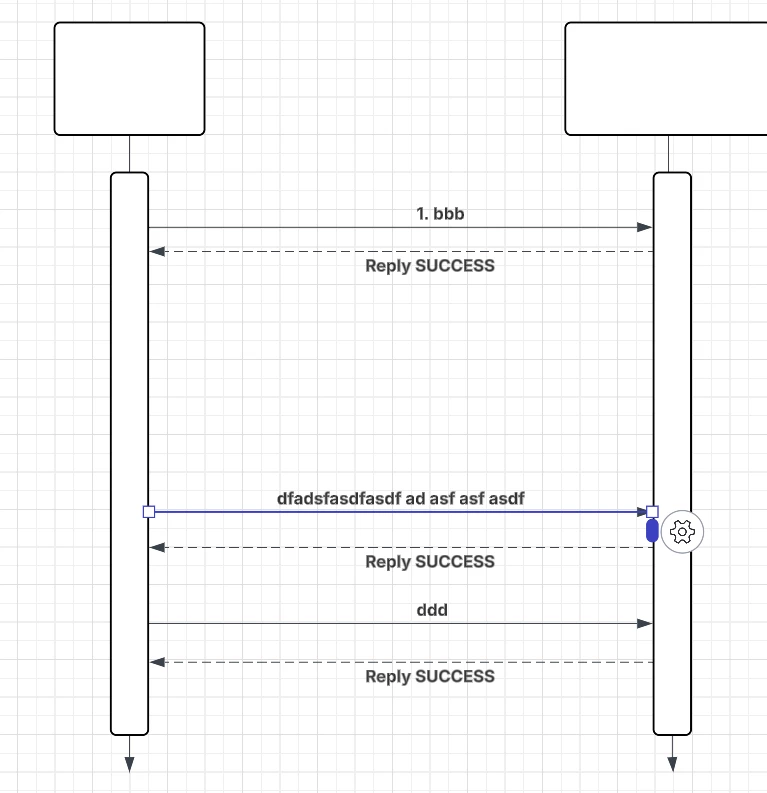
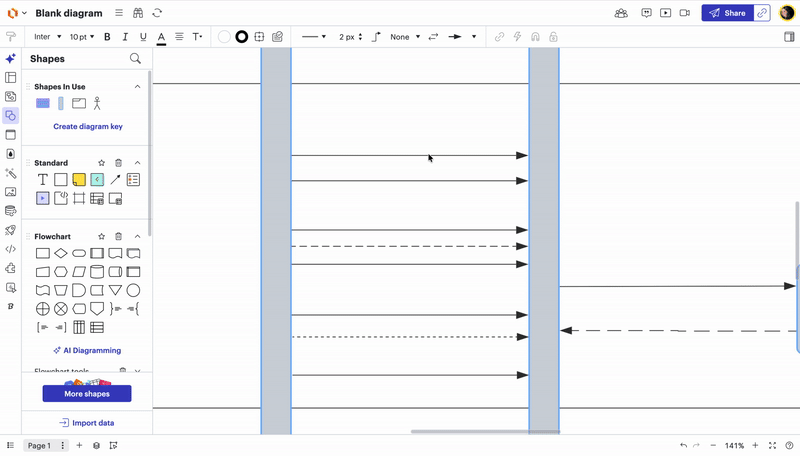
I am trying to move lines in a sequence diagrams up and down. not able to do it, i need to update the connect on both ends, how can I select one or more lines and quickly move them up and down? shift, ctrl, etc plus click and drag does not work.
 +2
+2I am trying to move lines in a sequence diagrams up and down. not able to do it, i need to update the connect on both ends, how can I select one or more lines and quickly move them up and down? shift, ctrl, etc plus click and drag does not work.
Best answer by alison cheney
Hi
Thank you for your response!
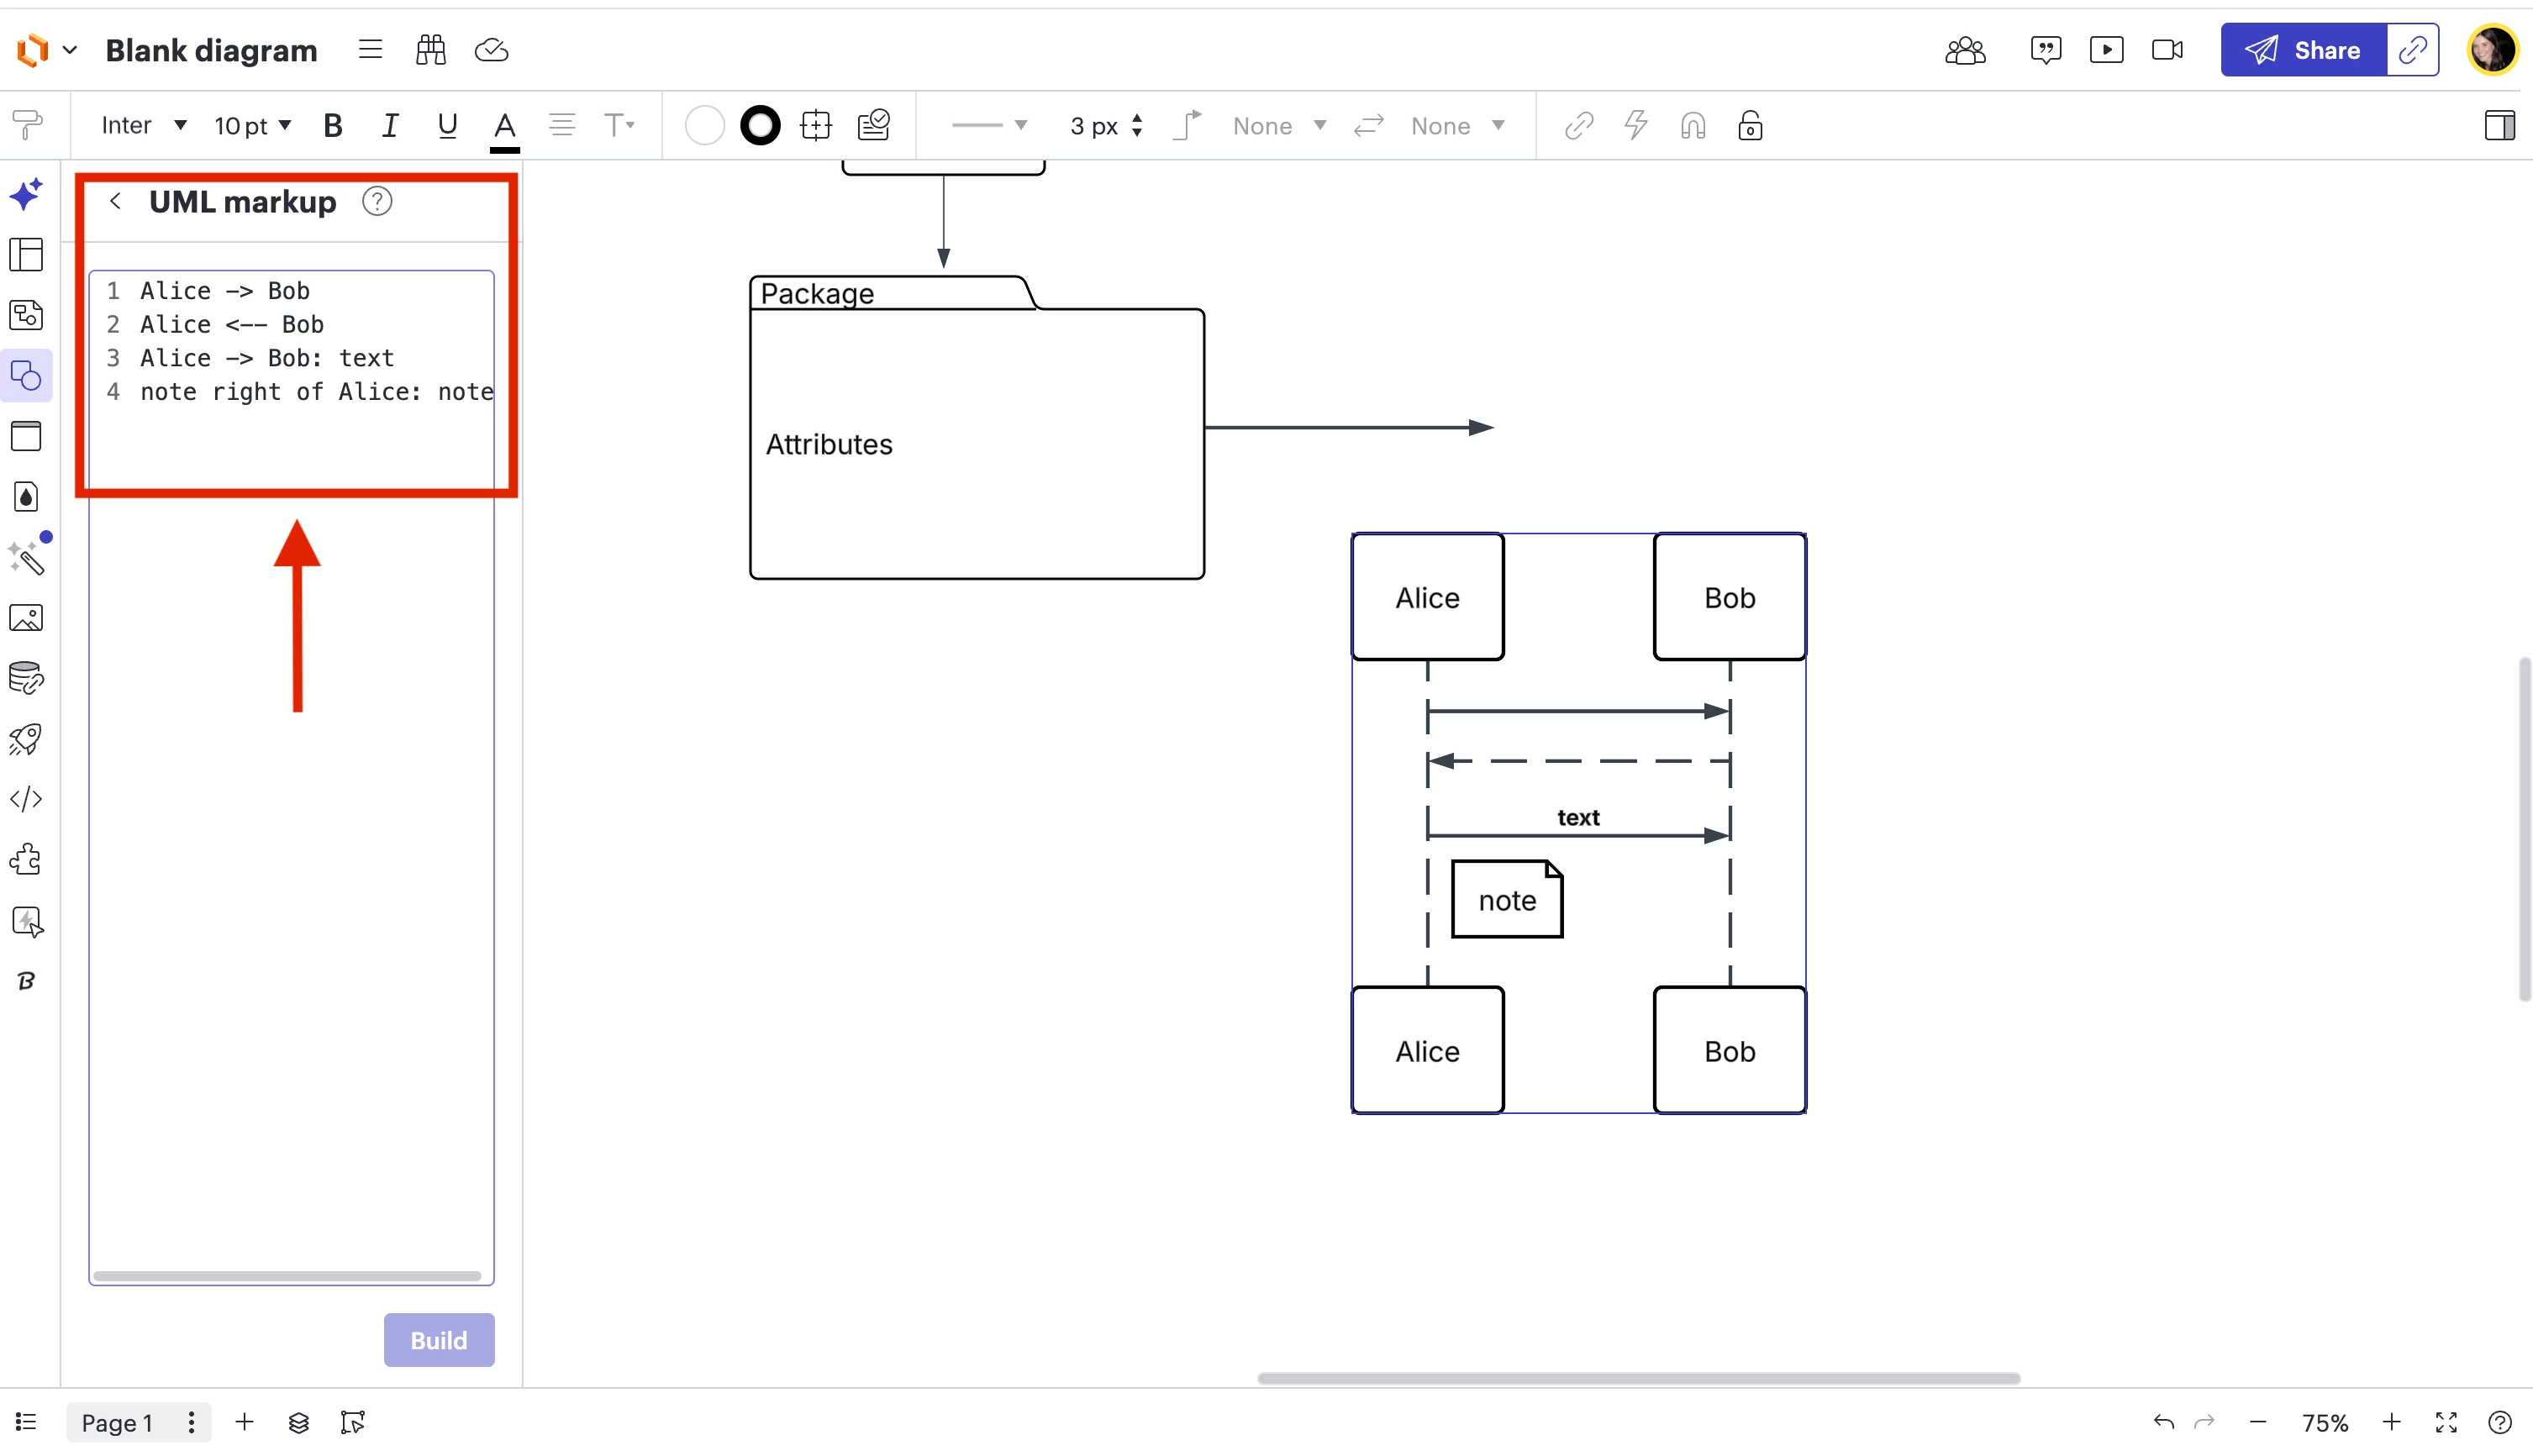
There are a few ways to move one or more lines up and down in your sequence diagram. Here are the different methods you can take:
Method 1: Select multiple lines at once and group them.
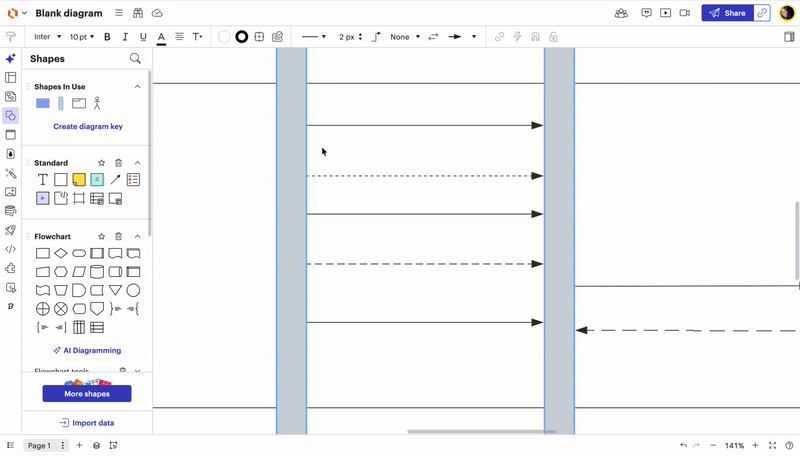
Method 2: Use the up and down Arrow Keys on your keyboard.
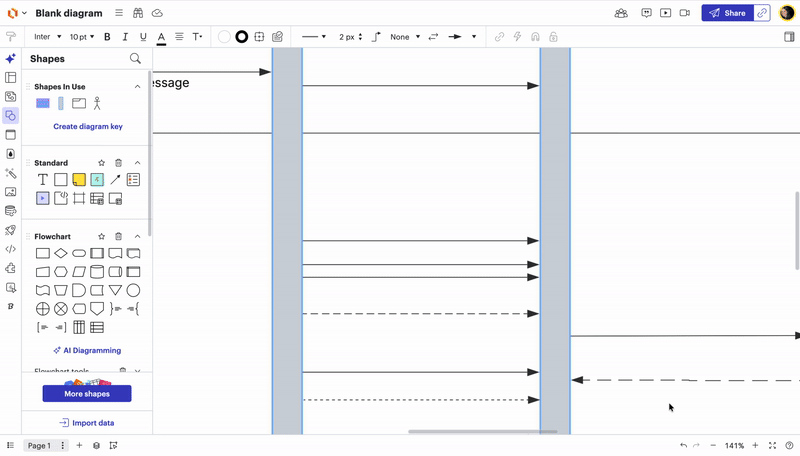
Method 3: (combining Methods 1 & 2) Group multiple lines together and use arrow keys to move them up and down.
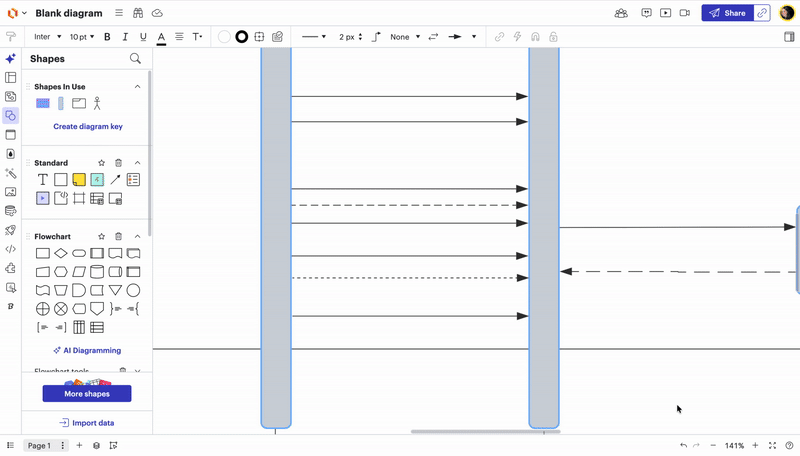
Method 4: Hold down the “option” key to duplicate and reposition line exactly where you want it
Please let me know if you have any additional questions!
A Lucid or airfocus account is required to interact with the Community, and your participation is subject to the Supplemental Lucid Community Terms. You may not participate in the Community if you are under 18. You will be redirected to the Lucid or airfocus app to log in.
A Lucid or airfocus account is required to interact with the Community, and your participation is subject to the Supplemental Lucid Community Terms. You may not participate in the Community if you are under 18. You will be redirected to the Lucid or airfocus app to log in.
Enter your E-mail address. We'll send you an e-mail with instructions to reset your password.