Have you ever felt like your flowchart was getting a bit unruly due to its size or complexity? Try using Lucidchart’s Layers feature to scale down a complex flowchart into more comprehensible bite sizes.
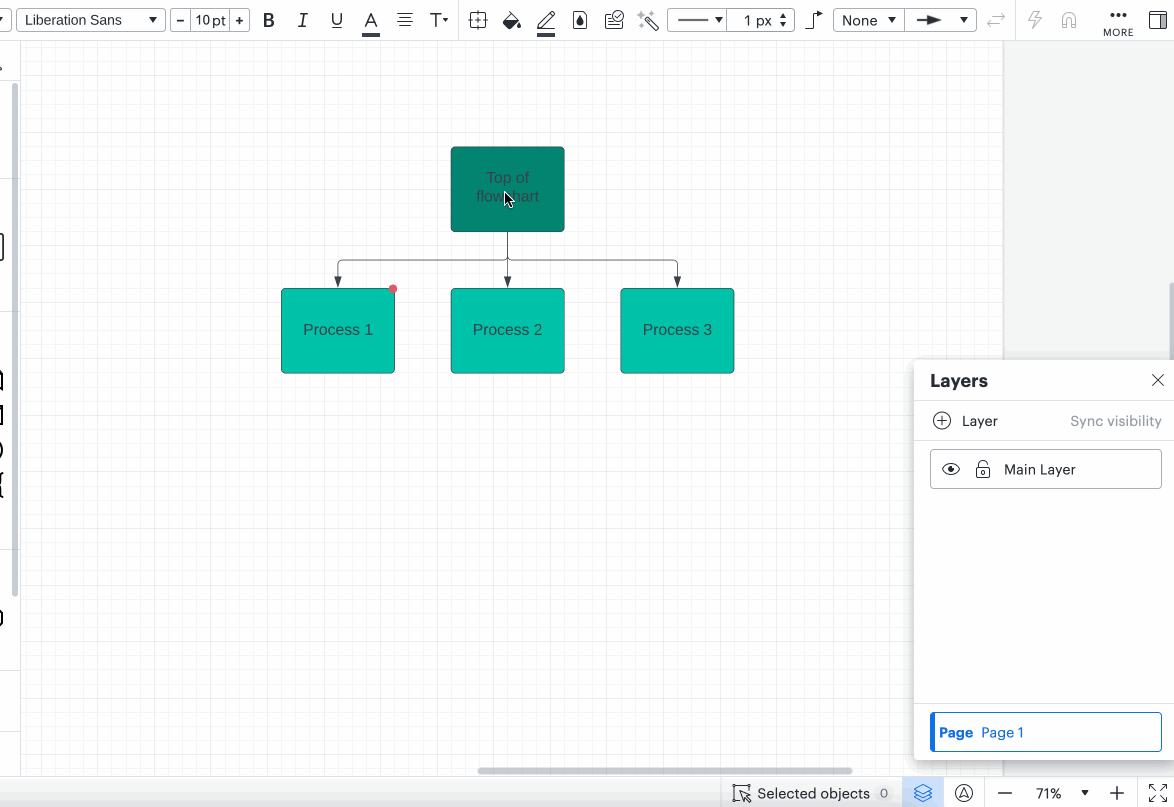
👷 Build a main layer
There are an unlimited amount of ways you can organize your flowchart using this technique. In this example I’m going to make one main layer that will act as the starting point for my flowchart. To do this:
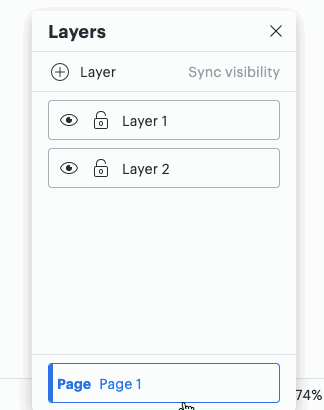
- Click the Layers icon in the bottom-right corner of the workspace.
- Click the plus sign icon to add a new layer.
- Title your layer. I chose to call mine “Main Layer”.
- Drag flowchart shapes onto the layer.
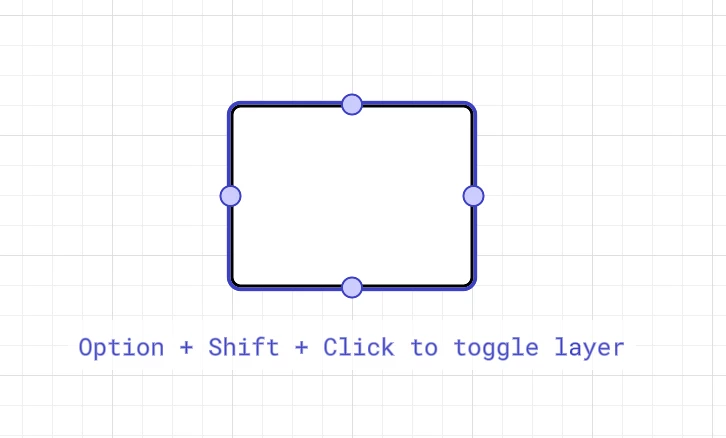
Within the Layers menu you have the ability to toggle layers on or off using the eye icon. For now keep your Main Layer toggled on so you know where to add your next shapes.
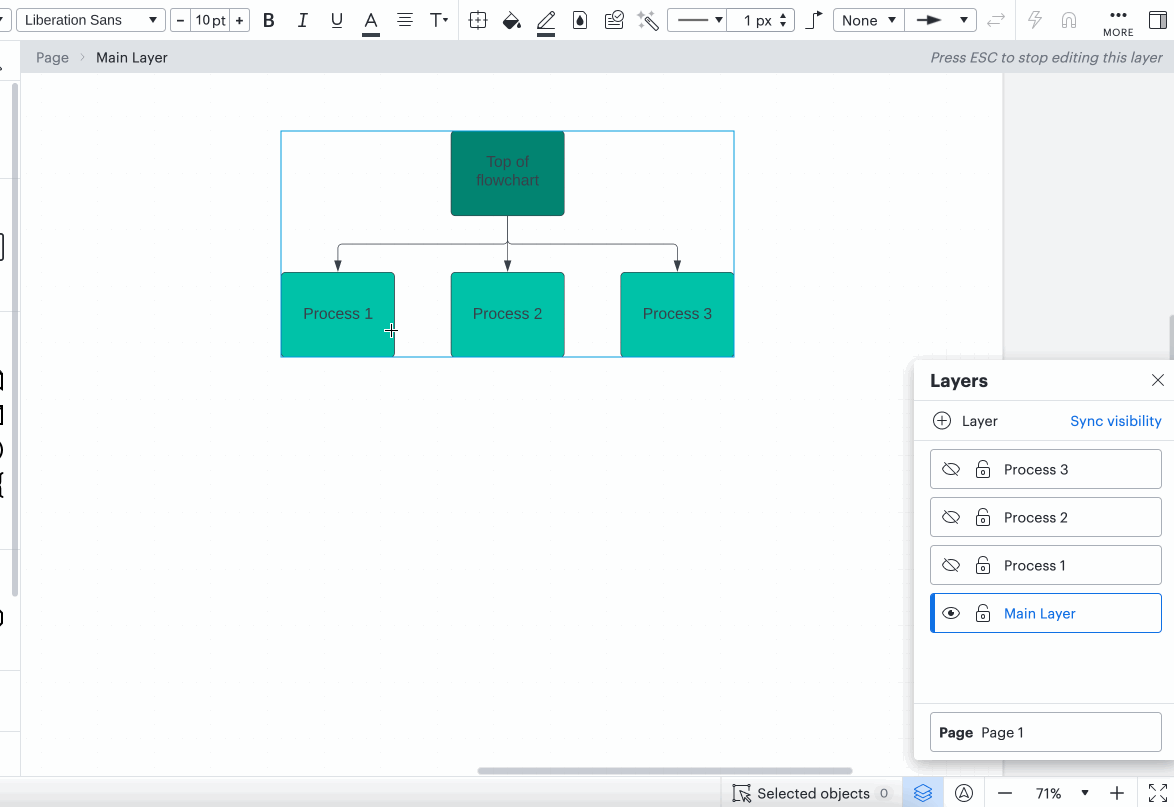
🔨 Build sub-layers for each branch
The next step is to build out a layer for each branch of your flowchart. To do this:
- In the Main Layer select and copy the objects you want to duplicate on the first branch of your flowchart.
- Add and title a new layer.
- Paste the objects you copied from the Main Layer onto the new layer. Drag them on the canvas so that they align with the Main Layer.
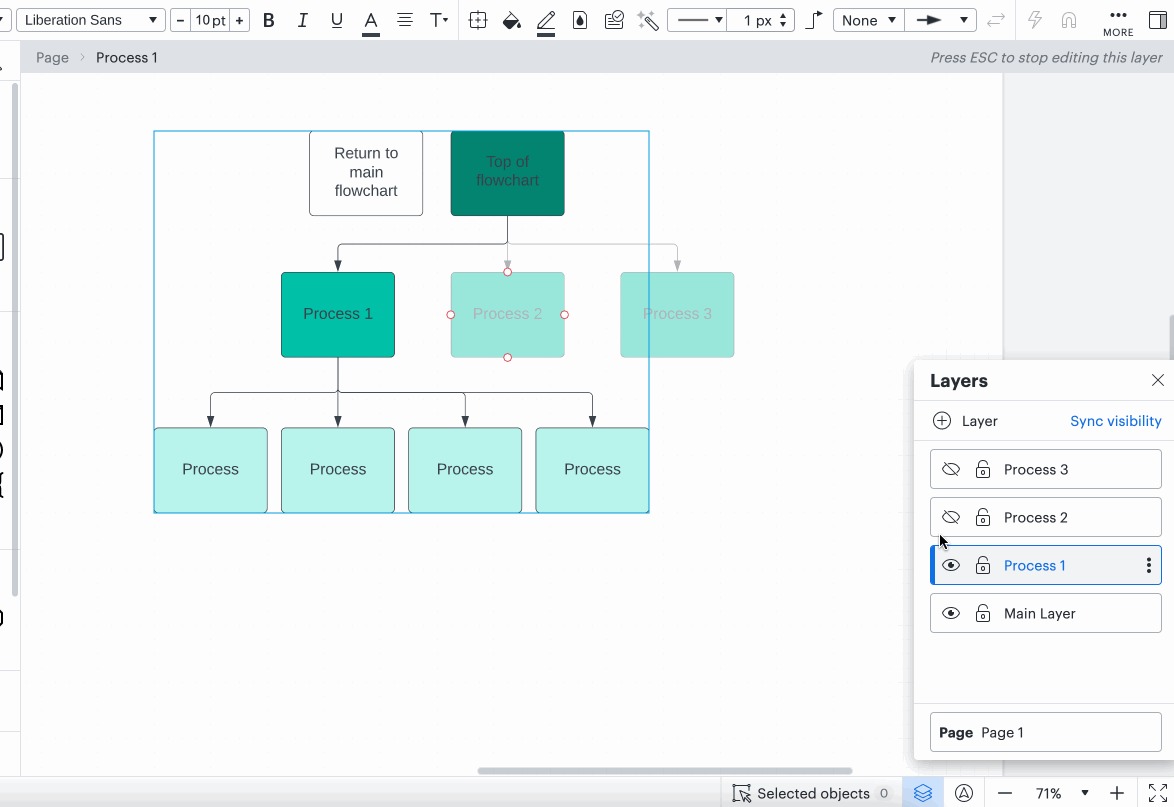
- Add the shapes for this branch of the flowchart. In each sub-layer be sure to include a shape that will be used as a button to return to the main flowchart. In the next section you will add an Action to this shape.
- Repeat steps 1-4 for each branch of the flowchart.
⚡️ Add Actions
Once you have built all of your layers it is time to add Actions to the Main Layer. To do this:
- Select Main Layer from the Layers menu.
- Click your first shape.
- Click the lightning bolt icon in the top toolbar.
- Select Layers.
- In the “Show” dropdown check the box next to your first layer.
- Click Done.
- In the “Hide” dropdown check the boxes next to all layers except your first layer.
- Click Done.
- Repeat steps 1-8 with all other shapes.
Don’t forget! You will need to add an Action to your “Return to main flowchart” buttons in each sub-layer. To do this:
- Select your first layer from the Layers menu.
- Click the “Return to main flowchart” shape.
- Click the lightning bolt icon in the top toolbar.
- Select Layers.
- In the “Show” dropdown check the box next to “Main Layer”.
- Click Done.
- In the “Hide” dropdown check the boxes next to all layers except for “Main Layer”.
- Click Done.
- Repeat steps 1-8 with all other sub-layers.
🎉 Share your chart!
Now that your chart is finished show off your hard work! One of the best ways to do this is to publish your chart as a URL which you can do by following the steps found in our Publish your Lucidchart document article. Drop the published link in the comments to show how you are using Layers to simplify your flowcharts!