how can I add label strip attached to the rack drawing so it always shows the RU numbering?
Thanks in advance
how can I add label strip attached to the rack drawing so it always shows the RU numbering?
Thanks in advance
Hi Oskar
Thanks for reaching out to the Lucid Community. You can add a label strip to a shape by following these steps:
Now whenever you would like to add a rack drawing with a label strip simply use your custom shape and it should be good to go!
Hope this helps.
I think he would like the rack shape itself to have the labels along the side.
Like a rack does in real life. This is crucial to planning and visualizing when setting it up in person.
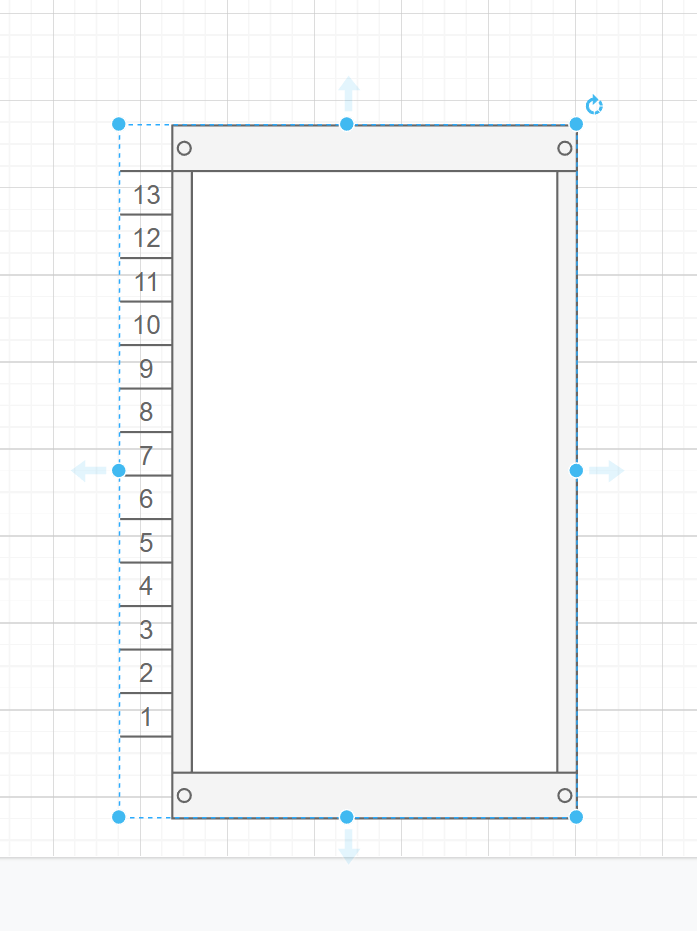
Here's an example it also adds numbers as you resize it as well. This is a MUST for rack planning.
Hi Robert
Thank you for keeping this thread going! Unfortunately this is not how our server rack functionality works yet and the best workaround is the one suggested above by Abby. However we're always looking for ways to improve Lucidchart and your feedback is the best way for us to do that. Would you mind adding your idea to our Product Feedback Space? Ideas submitted to this forum are passed on to the product development team for their consideration.
Thanks so much for the great idea! Cheers!
Hi
To add a label strip with RU numbering to a rack drawing you can follow these steps:
Choose a suitable label strip: Select a label strip that fits the height of your server rack and has enough space to display the RU numbering.
Create a digital version of the label strip: Using a graphic design software or a simple drawing tool create a digital version of the label strip. You can use a standard rectangular shape and add text boxes or labels to represent each RU.
Add RU numbering: Label each section of the label strip with the corresponding RU numbers. Start from 1 at the bottom and incrementally number each RU up to the top.
Customize the label strip: Enhance the design by adding colors fonts or any other relevant information you want to include.
Insert the label strip into the rack drawing: Open the rack drawing or diagram in your preferred software (e.g. Microsoft Visio Adobe Illustrator or any other tool you're using). Import or insert the digital label strip you created in the previous steps as a separate layer or object.
Position and resize the label strip: Adjust the size and position of the label strip within the rack drawing ensuring it aligns properly with the RU spaces. Make sure it is legible and clearly visible.
Save and update the drawing: Save the rack drawing with the label strip included. If needed update any other relevant information in the drawing to reflect the changes.
By following these steps you can create a rack drawing with a label strip that always shows the RU numbering. This can be a useful reference for organizing and managing your server rack equipment.
A Lucid account is required to interact with the community. You will be redirected to the Lucid app to create an account.
A Lucid account is required to interact with the community. You will be redirected to the Lucid app to log in.
Enter your E-mail address. We'll send you an e-mail with instructions to reset your password.