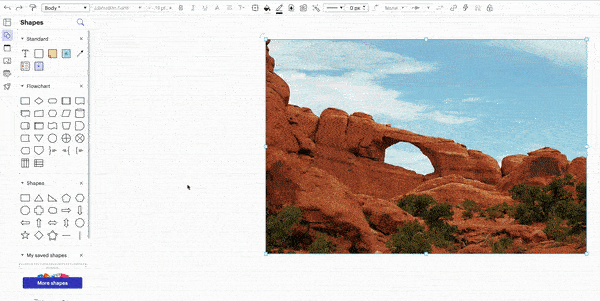
The great thing about Lucid is that there are a number of ways to edit your photos.
Image size color adjustments and Crop
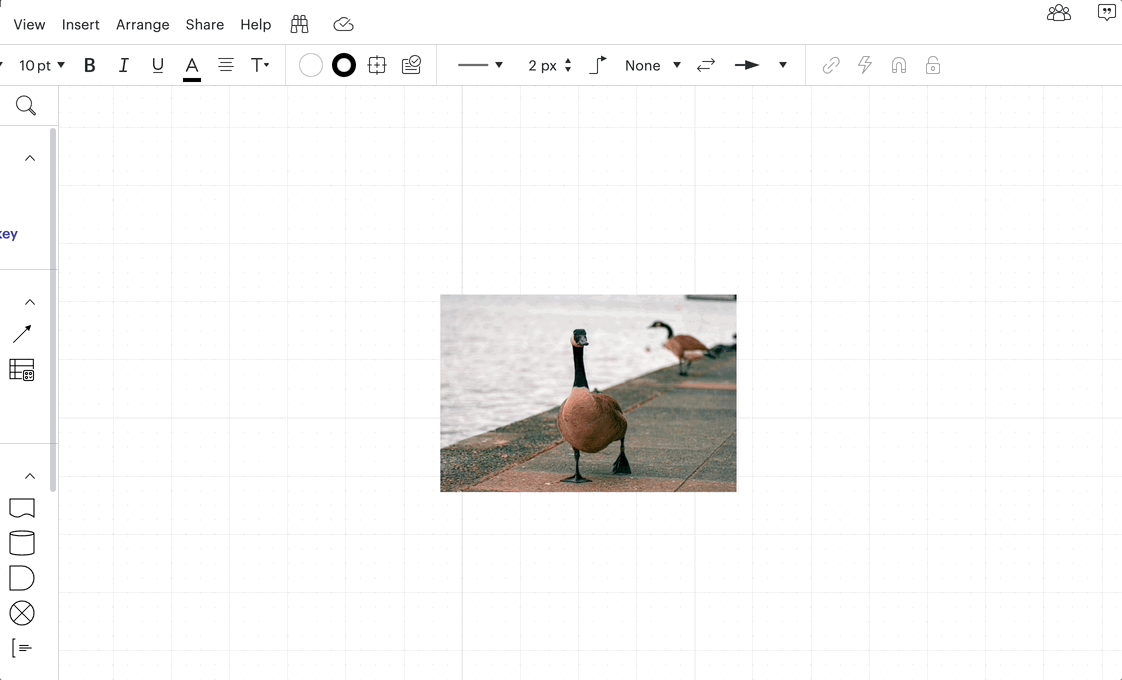
Once your image is uploaded to the document you have various options for adjusting it. To resize the image click on it and use the corner and side boxes to modify its size.
For changing the image's color properties including contrast saturation and brightness select the image and then the Fill Color tool (Paint bucket). Next select and use the Effects option to make the desired adjustments. You can also use the Fill Color tool to crop the image and control its appearance through "Image scale." Alternatively a quick way to crop is by double-clicking the image
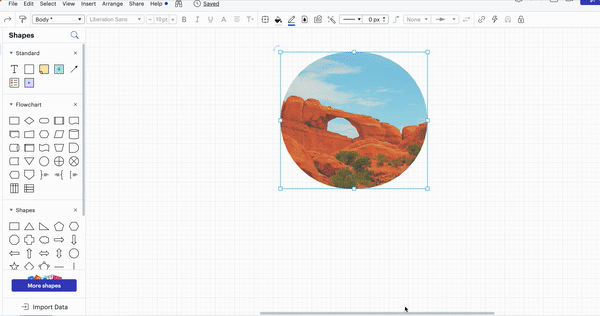
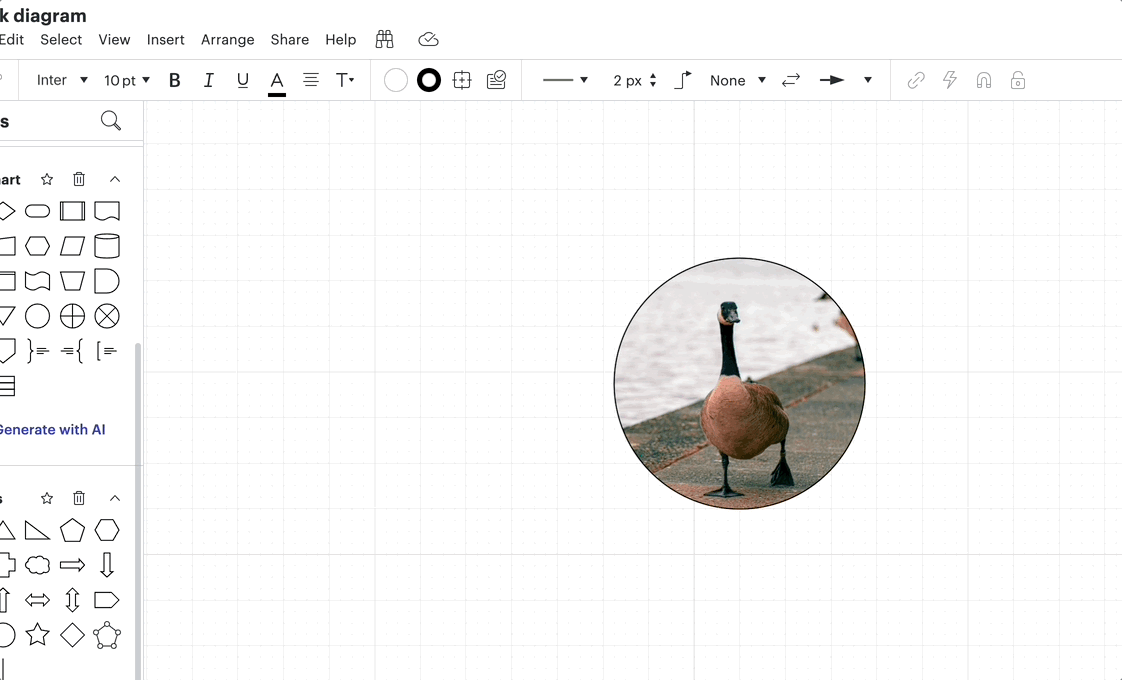
Put Images into Different shapes
Would you like to crop your image or display it to fit a specific shape? To achieve this use the following steps.
- Choose your desired shape
- Click on the Fill Color tool and select Image.
- Navigate to the "choose image" option and pick the image you wish to insert into your document. This way your selected image will seamlessly fit within your chosen shape.
Adding a Border:
You can add a border to your image to make it stand out. To do this use the following steps:
- Choose the image you wish to modify.
- Access the "line options" by selecting the image.
- Within the "line options" pick your desired border color.
- Adjust the line size and style to your liking using line style.