
Lucid offers SAML integrations to Enterprise accounts so that admin can easily manage user sign-on using their IDPs. Integrating Lucid with JumpCloud enables your users to authenticate using SAML single sign-on through JumpCloud.
The purpose of this post is to provide instructions on how to configure JumpCloud SAML to work with Lucid. This is not an officially supported IdP, so you may notice that the instructions or screenshots in Ping may become outdated over time.
Before proceeding with the steps in this guide, please refer to the Lucid SAML authentication instructions provided in the Configuring SAML with unofficially Supported IdPs post.
To configure JumpCloud to work with Lucid, follow these steps:
In the JumpCloud admin console:
- Click on SSO Applications on the sidebar.
- Click Get Started.
- Using the search bar, search for the Lucidchart application.
- Click on Lucidchart.
- Click Next.
- The Display Label and Description can be edited at this step but is not necessary fr configuration.
- Click Save Application.
- Click Configure Application.
In the Lucid:
- Navigate to the Admin Panel.
- Click App Integration.
- Under SAML, click Settings.
- If you haven't already, you can enter a value into the Domain field and click Save Changes.
- Scroll to the bottom of the page.
- Click Download Metadata.
Navigate back to JumpCloud:
- Click on the SSO tab.
- Upload the metadata.xml file downloaded from step #6 form the section above.
- In the IdP Entity ID field, type “lucidchart.com”.
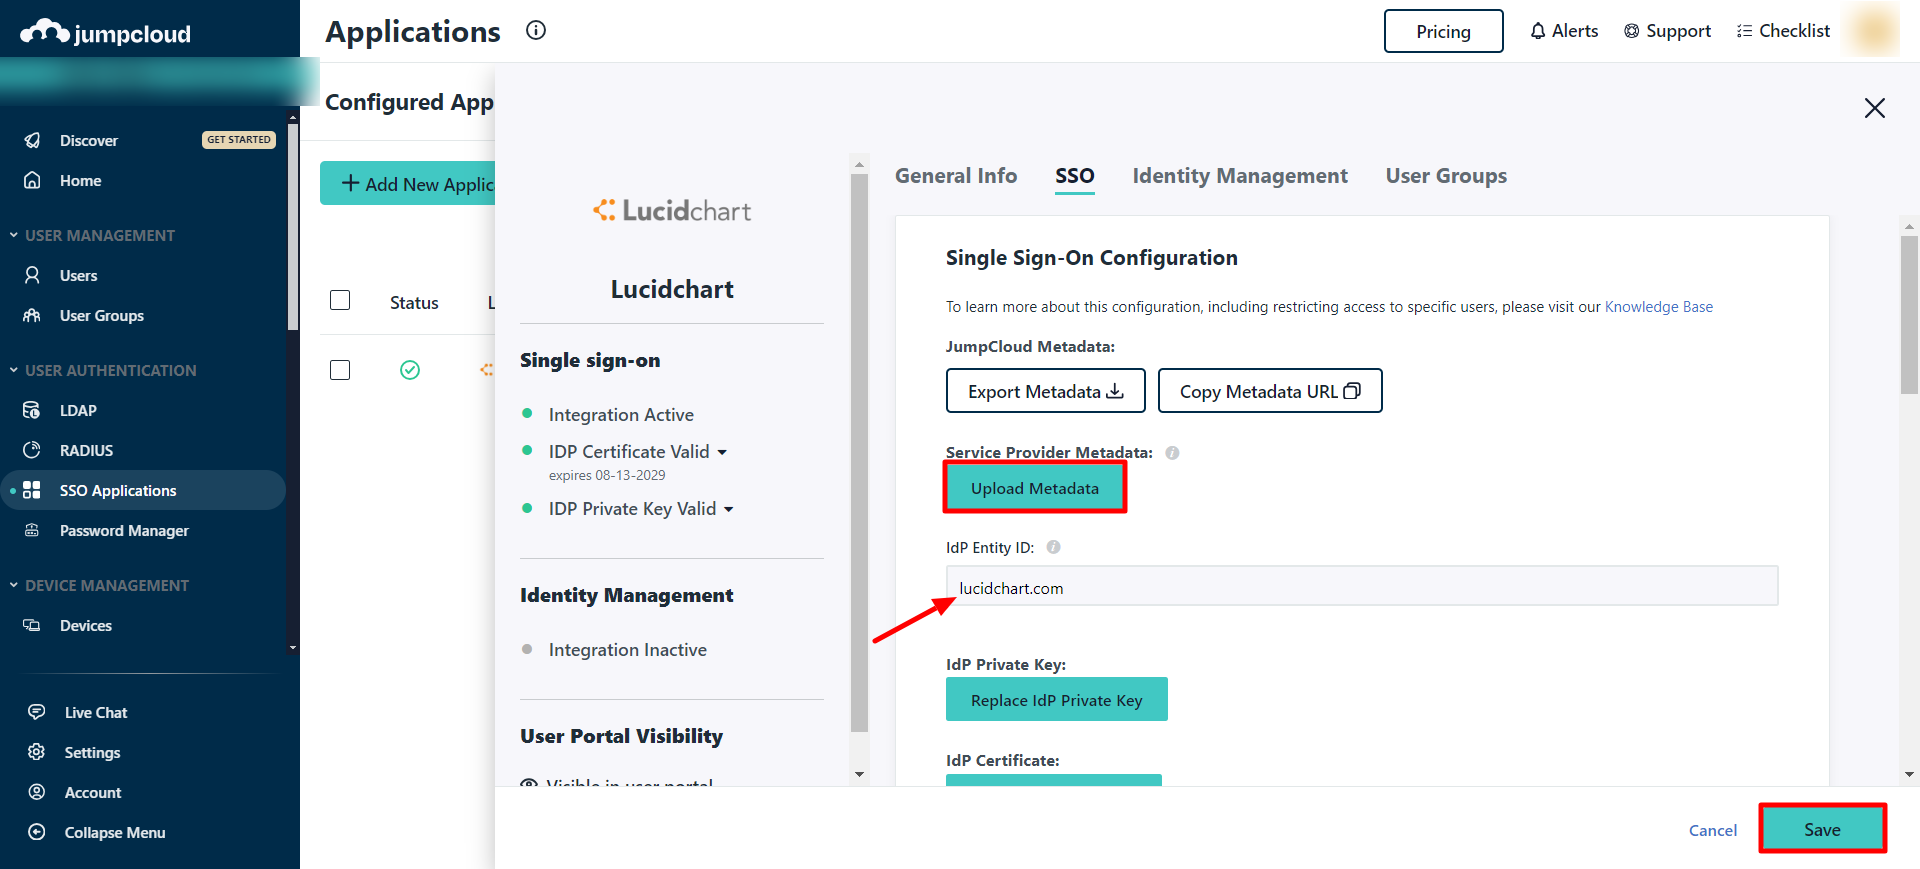
- Click Save.
- Click on the Lucidchart application to go back into the settings.
- Click on the SSO tab.
- Click Export Metadata to download the JumpCloud XML Metadata file.
- Go back to settings by clicking the Lucidchart application
Return to Lucid:
- Navigate to the Admin Panel.
- Click App integration.
- Select SAML.
- Click Settings
- Click + Add identity provider
- Upload the downloaded XML metadata file from step #17 of the section above.
If you would like to see more detailed instructions, reference step #7 of Configuring SAML with unofficially Supported IdPs.
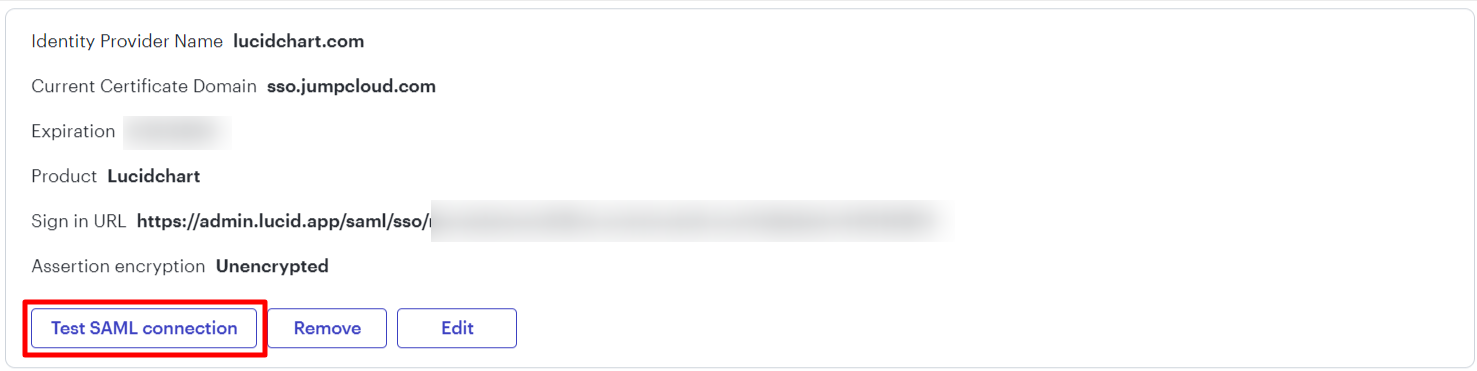
Testing your SAML Connection
After you have completed the configuration steps in Lucid and in your IdP, in Lucid click on Test SAML Connection to ensure the configuration is correct. If the test says OK, then SAML has been configured correctly.
If you would like to see more detailed instructions on how to test your SAML connection, reference the Configuring SAML with unofficially Supported IdPs post.