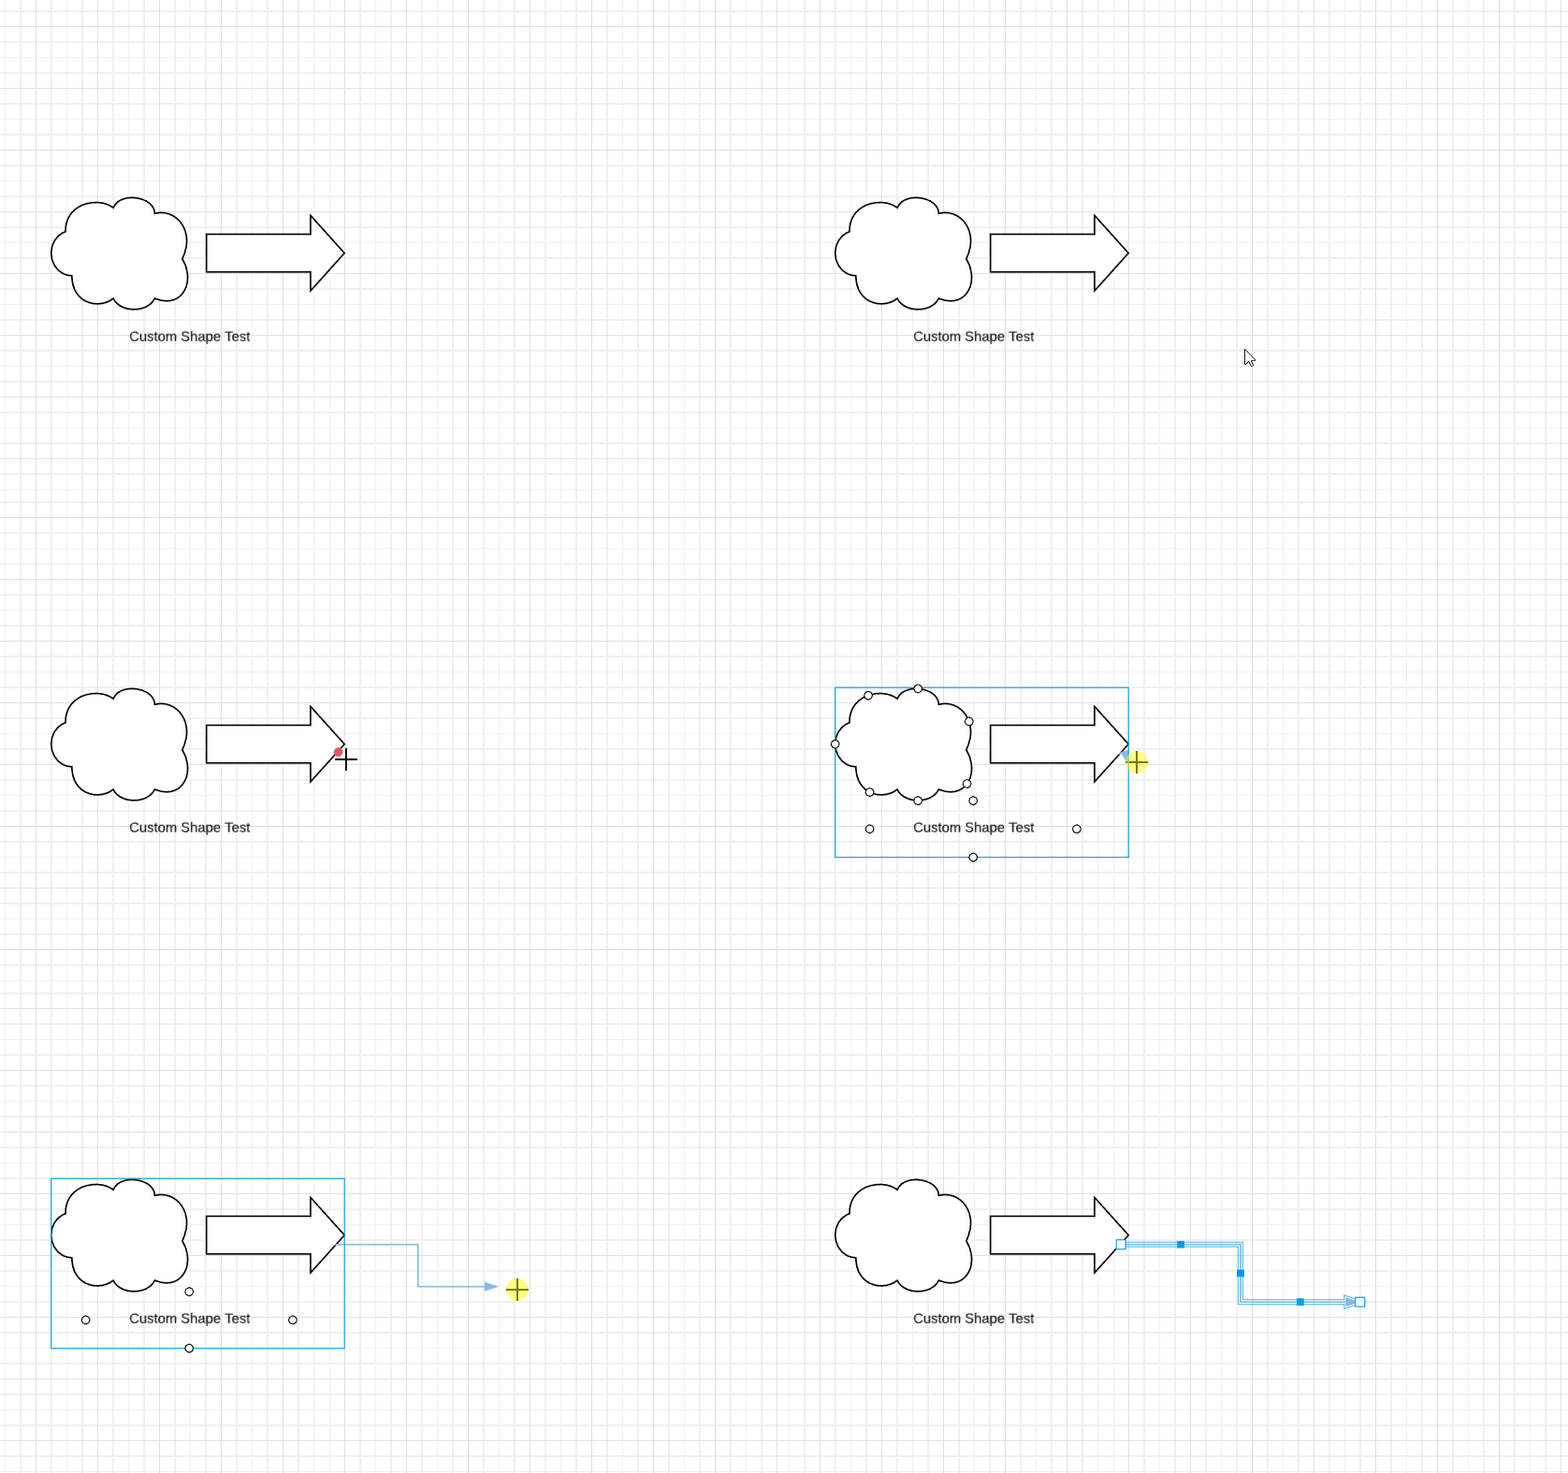
I uploaded a shape which worked well. Is there a way to set a text box underneath the shape as default so I don't have to continue double clicking to add the text box?
Text box under custom shape
Best answer by Micah
Hi Josh
Thanks for posting in the community! Yes you can create a custom shape that includes a text box beneath by default. To do so:
1. Add your custom shape to the Lucidchart canvas.
2. Add a text box beneath your custom shape according to your preferences.
3. Left click and drag to select both the shape and the text box.
4. Right click on the shape and select "Group."
5. Right click your grouping and select "Add to Custom Shape Library" and select the name of the library you'd like it to be a part of. For help creating a custom library please view this Access Organize and Share Shapes article.
6. Drag your custom shape/text box combination onto the canvas to edit!
Hope this helps!
Create an account in the community
A Lucid or airfocus account is required to interact with the Community, and your participation is subject to the Supplemental Lucid Community Terms. You may not participate in the Community if you are under 18. You will be redirected to the Lucid or airfocus app to log in.
Log in to the community
A Lucid or airfocus account is required to interact with the Community, and your participation is subject to the Supplemental Lucid Community Terms. You may not participate in the Community if you are under 18. You will be redirected to the Lucid or airfocus app to log in.
Log in with Lucid Log in with airfocus
Enter your E-mail address. We'll send you an e-mail with instructions to reset your password.

