Getting to know a new cloud environment can be difficult and time consuming. Cloud documentation may be out of date or might not exist at all. Building cloud models manually is a significant time investment and can introduce human error. Instead of trying to document your cloud manually you can use Lucidscale to quickly model and understand your existing cloud architecture.
1. Import your architecture into the data hub.
Navigate to the Data Hub from your Lucid homepage and select “Import Data'' to pull in cloud provider metadata and get an accurate picture of your current state. Lucidscale works with AWS Azure and GCP. For more detailed instructions check out our Help Center article on importing your data.
2. Create new model in Lucidscale.
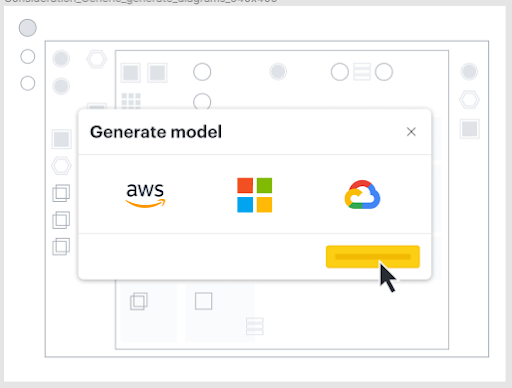
Auto-generate a model from your imported data. In your Lucid documents menu select +New and hover over Lucidscale to select either AWS Azure or GCP. You’ll then be able to select your data source and complete the prompted steps to create your model.
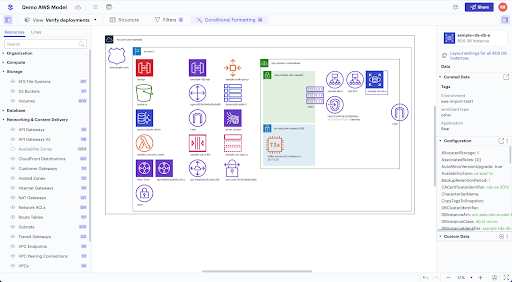
You’ll be able to apply filters customize views show connected resources and more.

3. Create a customized view of your cloud infrastructure.
Use existing views or create your own custom views to filter for specific resources or sections of a cloud account. You can focus on specific resource types toggle lines on and off and view the connectivity of various resources.

4. Use conditional formatting.
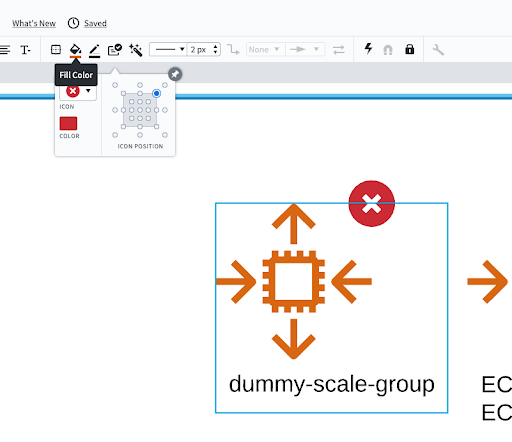
Lucidscale’s conditional formatting allows users to highlight specific resources based on underlying metadata. For example if someone were trying to verify that compliance requirements were being followed they could use conditional formatting to highlight databases or storage servers that weren’t encrypted. If any were highlighted they could work with the team that manages the cloud account to fix the issue before an upcoming compliance audit.

5. Save and share with stakeholders.
Learn more about how Lucidscale works with the Lucid Visual Collaboration Suite here.
