Lucidscale is designed to help users collaboratively design cloud systems and improvements. By modeling your environment visually then using that model as the basis for your design you can validate both your concept and your executed environment.
- Import your architecture into the data hub: Not sure how to import your data? We have detailed instructions in our Help Center article on importing your data.
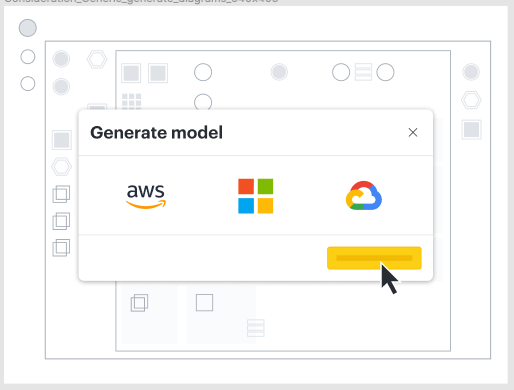
- Create a new model in Lucidscale: In your Lucid documents menu select +New and hover over Lucidscale to select either AWS Azure or GCP. Select your data source and complete the prompted steps to create your model.

-
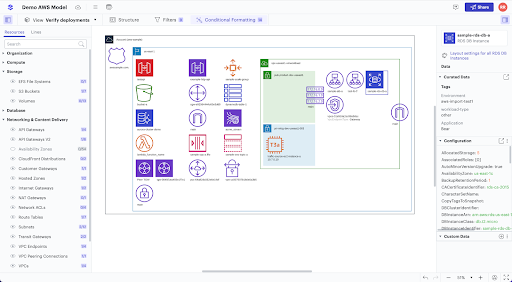
Create a customized view of your cloud architecture: use existing views or create your own custom views to filter for specific resources or sections of a cloud account. You can focus on specific resource types toggle lines on and off and view the connectivity of various resources. Some useful views when designing new architecture are a full account view that shows all resources with availability zones and VPCs. Also if working on a specific application filtering based on application tags to only show resources/services within that application can be helpful.

- Export to Lucidchart: by exporting your Lucidscale model to Lucidchart you can make edits add ideas and visualize your future state. Layers let teams put new scope “on top” of the existing model so you can easily understand what has changed in the new design. You can also share with stakeholders clearly showing both the current state and the future plans. Once you’ve settled on a design you can use Lucidchart to tag contributors assign elements and plan how you’ll execute the new design.
- Save and share with stakeholders: By documenting your current state you can communicate complex systems to stakeholders with more clarity. You can also use them to train new employees prepare for audits or partner with consultants. Learn more about how Lucidscale works with the Lucid Visual Collaboration Suite here.
