Using Print by Page Tiles is a great feature to print a large document without compromising the readability of the Chart. Print by Page Tiles can separate your document into different segments to make printing your document easier. With this feature you will separate elements of your document onto different page tiles so that when you print you can show the entirety of the document over several pages.
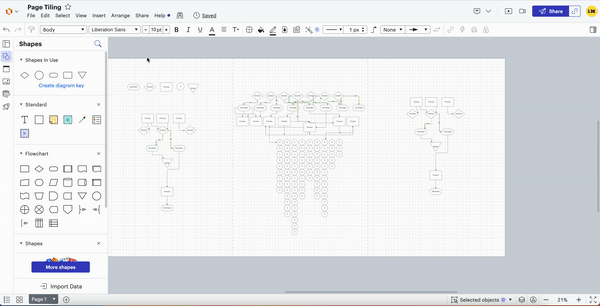
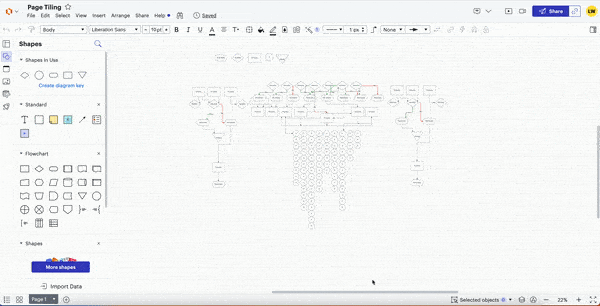
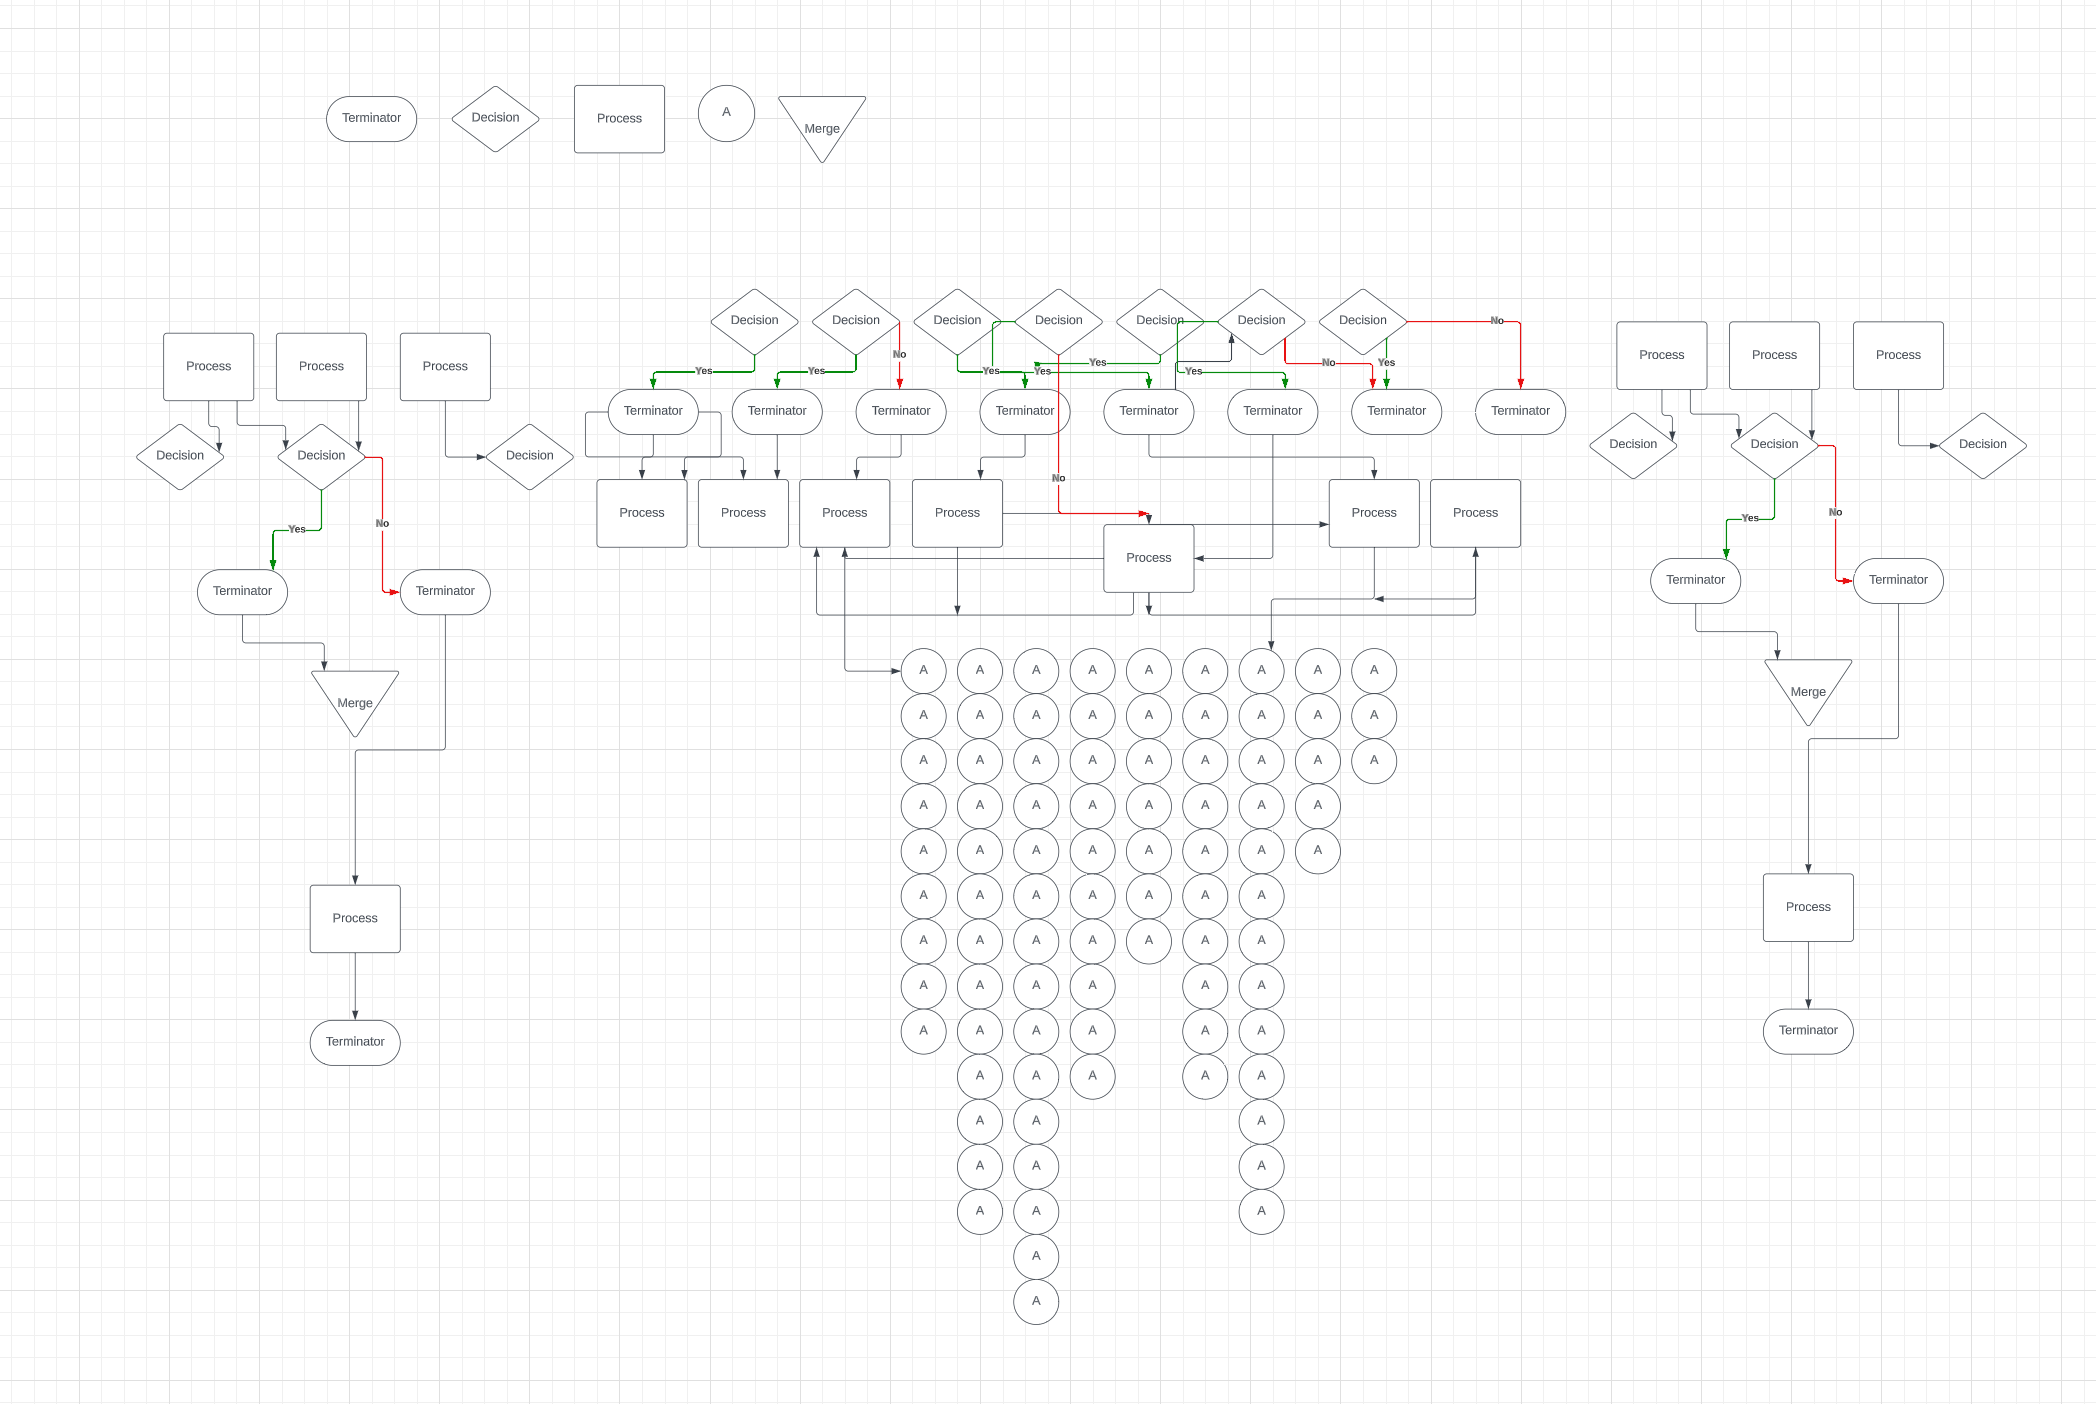 This is an example of having a large document that is difficult to read when printed or exported as one page.
How to set up page tiles:
Follow these steps to set up page tiles:
- Go to the File menu.
- Select Document Settings.
- Turn off Infinite Canvas and enable Page Tiles.
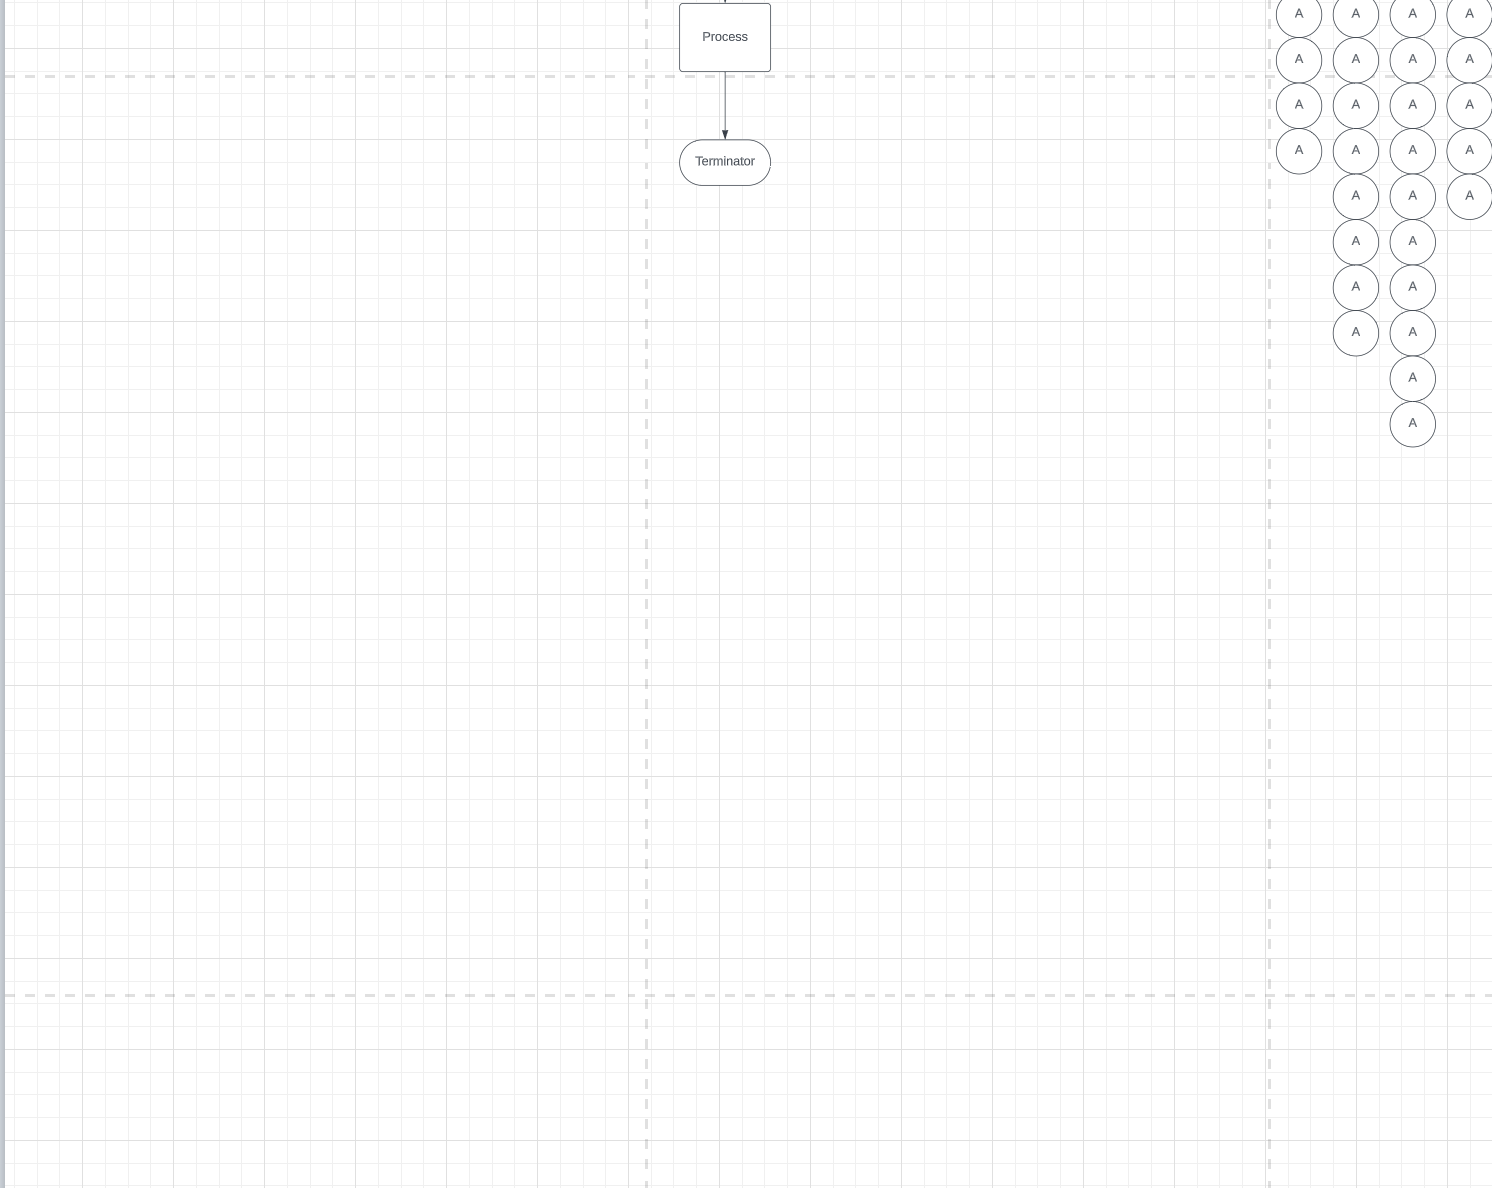
- Once you have activated page tiles. You will know that Page Tiles have been activated when you see gray dashed lines sectioning off your document in rectangles or squares
- Adjust the size of the Page Tiles using the size dropdown menu or by setting a custom size. It is worth noting that the page size you select here corresponds directly to the physical paper size on which you will print
By doing this your document will be divided into separate page tiles. Once the page tiles are set up organize the elements of your document to fit within the page tile lines.
Note: You will want to set up your content with a small space in between the Page Tile lines to avoid content skipping over onto another page.
How to print using Page Tiles:
When you have your document elements laid out across the Page Tiles you are now ready to print or export your document. To do this use the following steps:
- Go to the File menu.
- Select Print or Export and the file type you wish to export.
- Select the Divide by Page Tiles option.
- Your content will then be ready to print or export across multiple pages.