
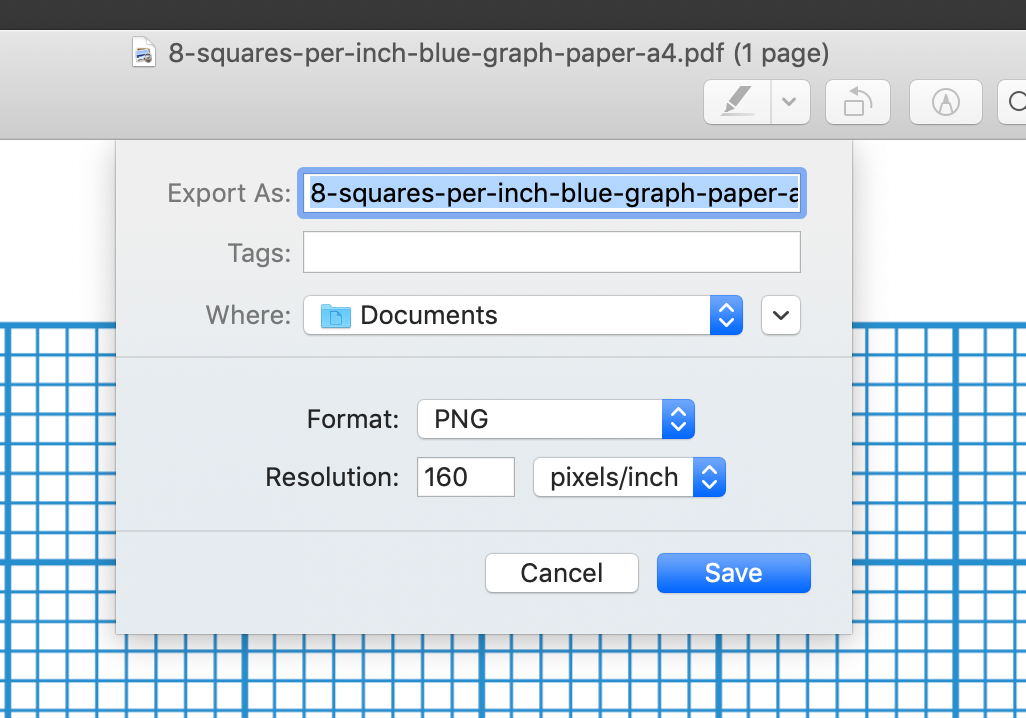
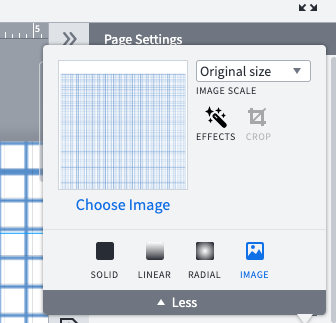
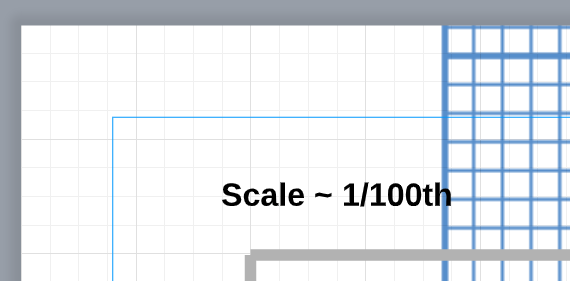
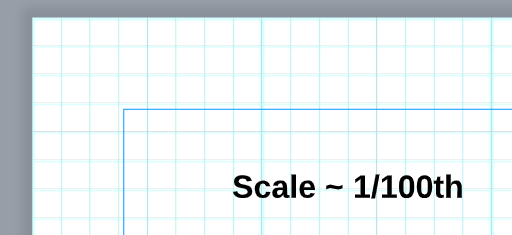
I tried all download options but couldn't figure out how to download my diagram *with the grid lines on*. Does anybody know how or is this even possible? (I feel like it shouldn't be technically hard to do)


Thank you!

Hey Sal unfortunately this grid will not print-- it will only show up in the editor. It isn't a perfect solution but as a workaround you can use a grid/graph paper image as the background of your document. This would give the same effect to the grid but would allow you to print it. Hope this helps!


Thanks Megan tried a couple options but it's really hard to get it anywhere close to the edit grid :/


Do you know if there's a way for me to request this feature or +1 it?


Hey Sal, sorry to hear that! I’ve converted this post to an idea in our Product Feedback space so that others can upvote and comment their use case details on it. Thanks again for your feedback!


I was able to get this to work with some tweaking. Unfortunately I can't add the image I eventually used here due to licensing but I can share more information concerning how I got this to work.

Note I am on Mac although other systems should provide the functionality needed to accomplish this so long as you follow the principles. To help solve this on other OS's I will share the principled along with the steps.

First the problem with just adding any ol grid you find on the internet is that different images have different pixel densities. Lucidchart appears to use 160 PPI (pixels per inch) So your images need to be the same. Also there are not a lot of grid paper "images." Instead they are mostly PDFs. Unfortunately the PDFs do not import into Lucidchart as a background very well. I believe this is because whatever process is converting a PDF you supply as an image is not exporting to the 160 PPI that Lucidchart is using.

Here is how I got it to work


  1. There are lot's of grid options available out there. To match Lucidchart's default edit grid you want to search for "A4 graph paper 8 squares per inch". I used this one which does not allow me to distribute the final result but I can share. 🙂 I have not tested how well this will work with other page sizes.

  2. Save the PDF and open it in Preview (default application for Mac).

  3. Go to File -> Export... and in the drop down menu select "PNG". Important: Be sure to set the resolution to 160 pixels/inch.


  4. As a test import your image into Lucidchart using the Community Manager's instruction's above. For "Image Scale" select "Original Fit". 


  5. You might notice that the grid may not fit your page correctly. In my example I was creating a landscape document but the grids are portrait. Additionally you will have the margins and possibly other information you do not want as part of your image. However the most important part of this step is to compare the imported grid lines with Lucidchart's editor grid lines. They don't need to line up perfectly at this point but they should be the same size. If they are the same size then all the edges of your imported grid will be the same length away from the nearest line on the editor grid. Notice in the example below that my imported blue lines do not line up but they are the correct size.

  6. To get your grid lines to line up open your png in "Preview" or some other editor that allows you to crop. Select the grid from your image to crop out. If your grid lines are larger than a pixel do your best to crop in the middle of the edge lines around the border and shows in the screenshot below:


    You will likely need to zoom in to get this right. Also be sure to select the opposite corner as close to the middle as you can as well. Then go to Tools -> Crop.

  7. Optional: The blue lines were a bit too dark for me. Go into Tools -> Adjust color to change the settings if desired. By increasing the Exposure and decreasing the Contrast I was able to get lighter thinner lines.

  8. Save the image.

  9. Follow the directions to import the image as a background again. This time change the "Image Scale" to "Tile."

  10. If you cropped correctly your grid lines should be lined up with the editor grid lines. Note that I probably could have taken another pixel or two off the top when cropping but this is close enough for me:


  11. Be sure to save your new grid background somewhere where you won't lose it so you can use it for future projects!


I actually found it to be much easier to just take a screenshot of a blank Lucidchart canvas then insert it as a background image. Lines/scale match perfectly since you're using exactly what you're working within anyway. Would still be nice to have a "Print with gridlines" toggle in settings tho...


Hi Casey, thanks for adding to the conversation! Your workaround is the same I personally use as well. We'll update this thread as soon as we know more information!

If you haven't yet please add upvote this request so we can keep the topic on our product team’s radar!