Ten Frames for Addition and Subtraction


#1 Open a new Lucidspark bord.

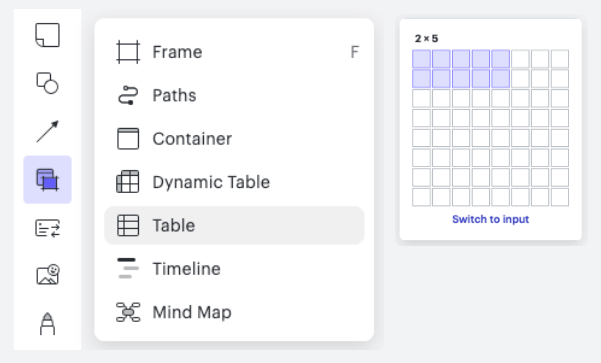
#2 Add a 2X5 table to the board.
 

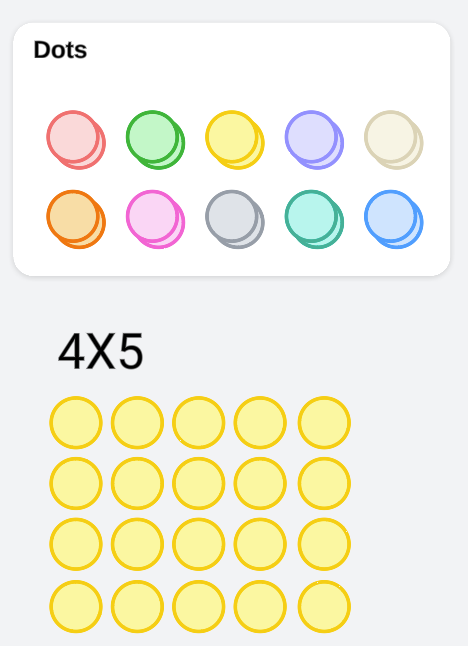
#3 Drag a Dot bank onto the board.
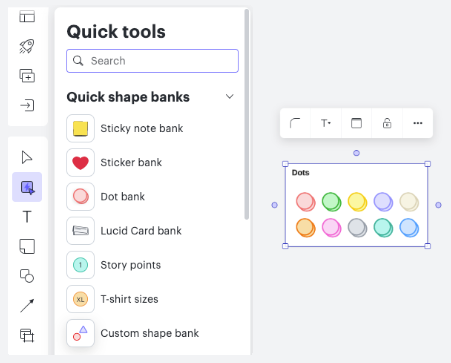
 

#4 Drag out text boxes, add the practice problems, and lock .
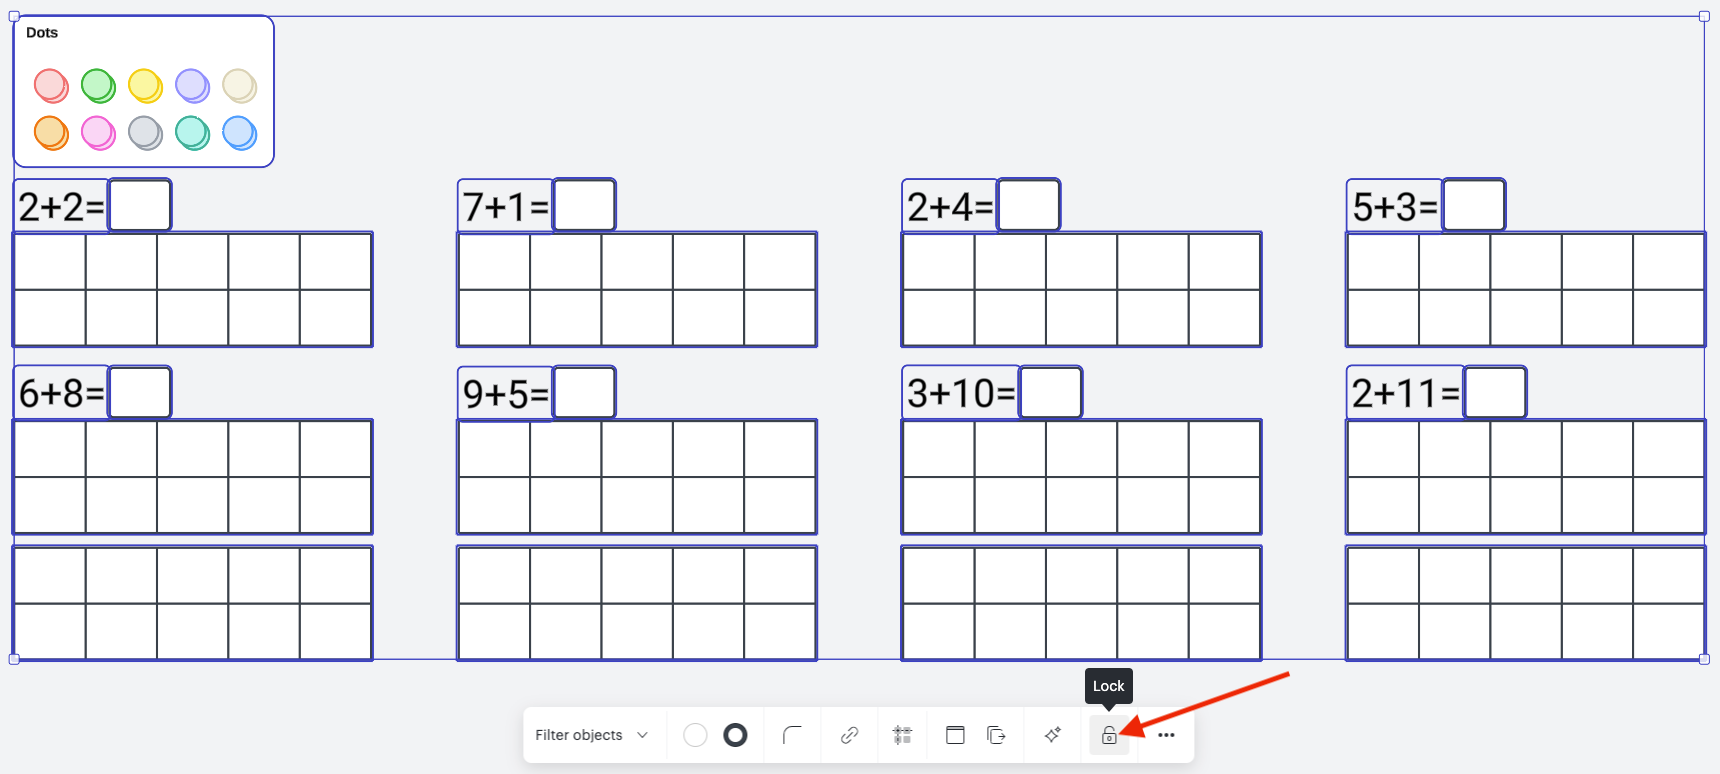
 

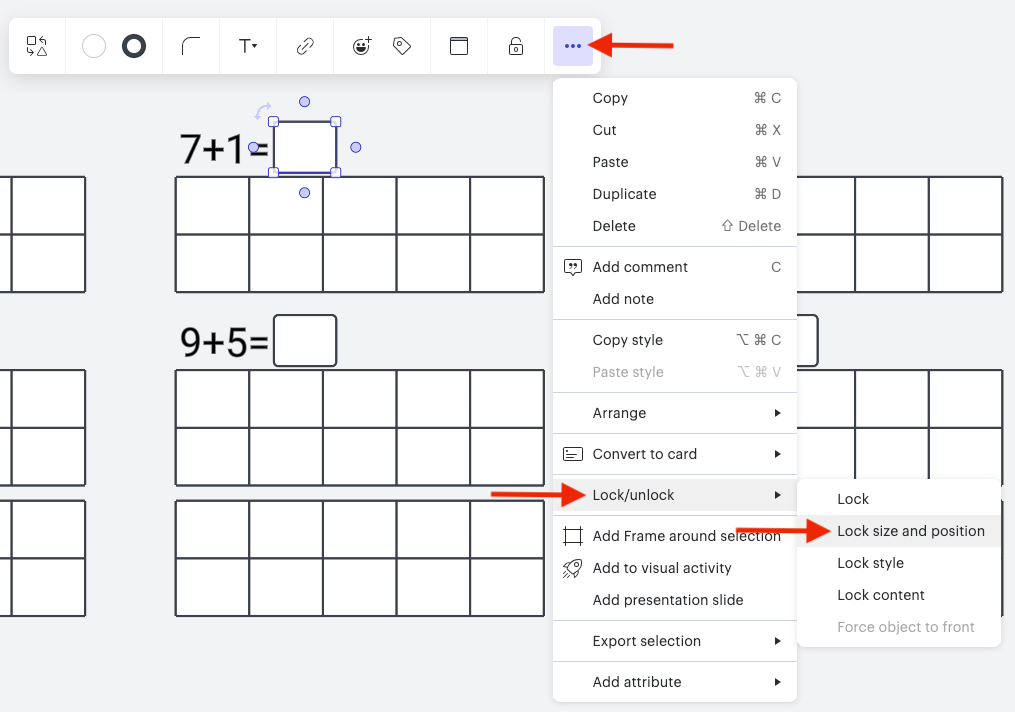
#5 Drag out answer boxes and lock them only by size and position.
 

#6 Open breakout boards and duplicate so each student has their own copy to complete.
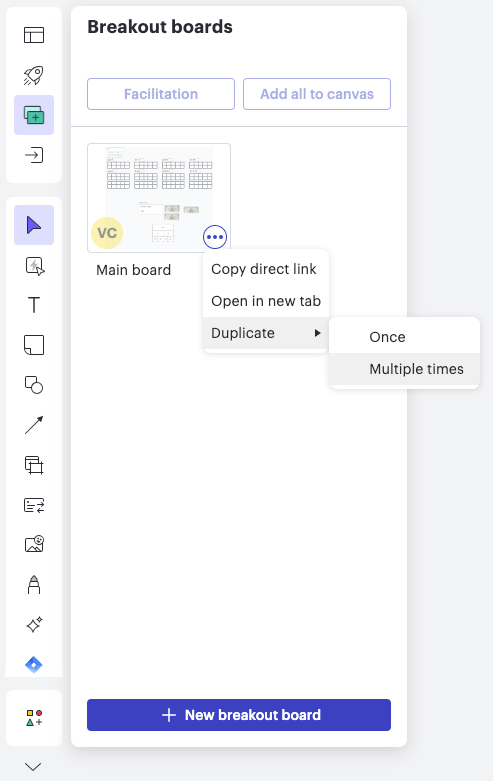
 

#7 Each student goes into their assigned breakout board and completes the activities.
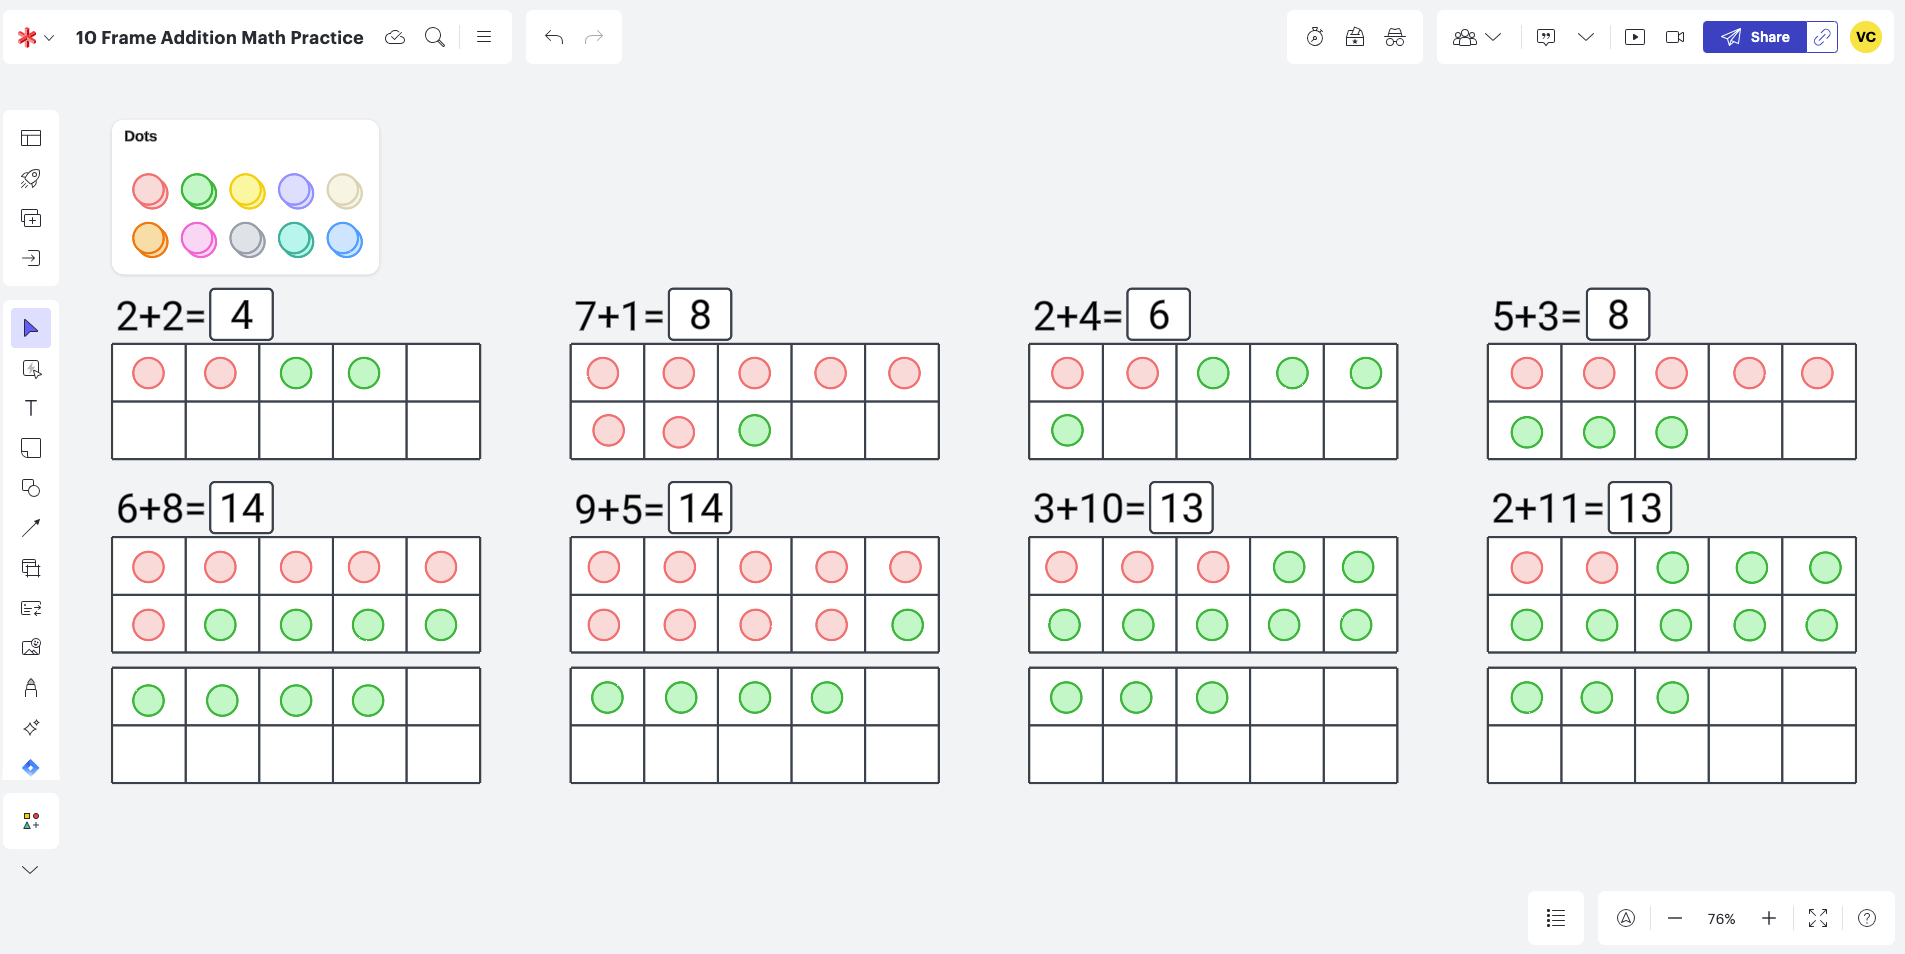
 

Last, but not least, here is a template that you can start with :) 


This is incredible!


Thanks for sharing this idea!  I teach 3rd grade and the dot banks will be so helpful when we are practicing making arrays for multiplication.  Doing it digitally will save so much time.  Look I just made one and it only took me a minute!


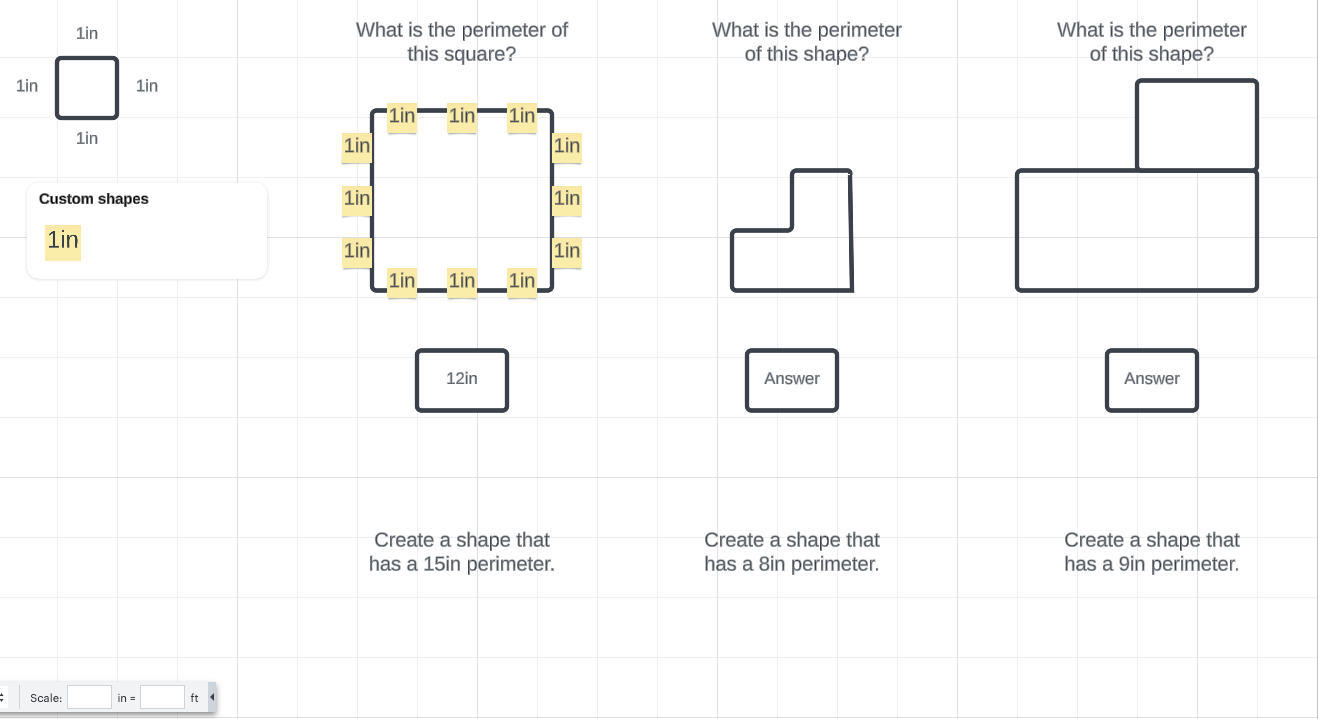
I like using the grid lines, see though shapes, and flex polygon shape in Lucidchart to have students practice perimeter and area.  Here is an example of a worksheet I sent out to my students using the Google Classroom button, so they each got their own copy to do and turn back into me for grading.  I like how easy it was for students to create their own shapes representing a specific perimeter.  This made the activity more engaging and rigorous for the students. 


Thank you for sharing!  Speaking of geometry, teachers often use the floor plan shapes in Lucidchart to create fun, creative learning activities for their students to practice different geometry principles.  


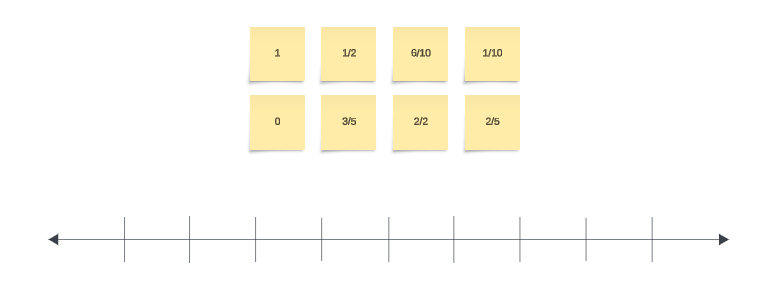
For my 5th grade math group, I created a number line in Lucidchart that includes various fractions. Students worked together to plot equivalent fractions on the number line. This visual representation helped them understand how different fractions can occupy the same point on the number line, reinforcing the concept of equivalence.


Reply